
Chair Makeovers - One For You and One For Me
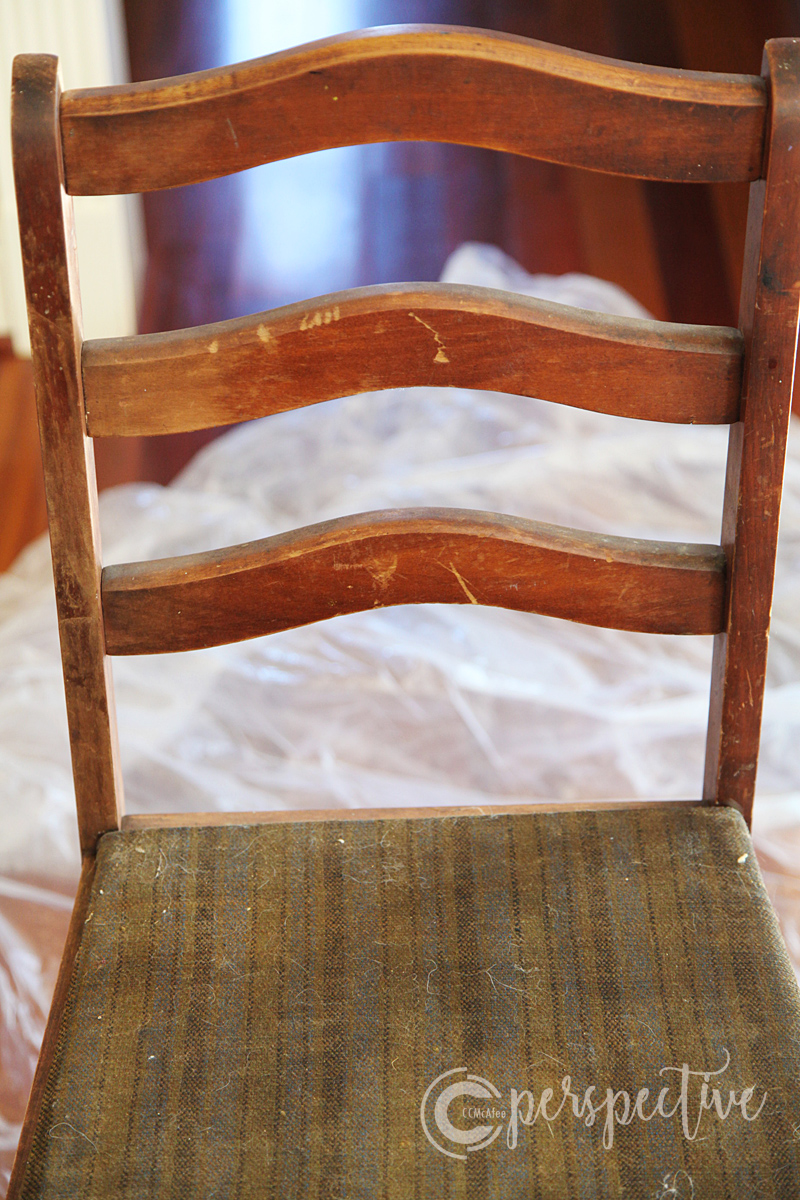
I have had these two chairs for a while, just waiting to be made over. I got one at a garage sale for $1 and the other I got at ReStore for $5 I think.
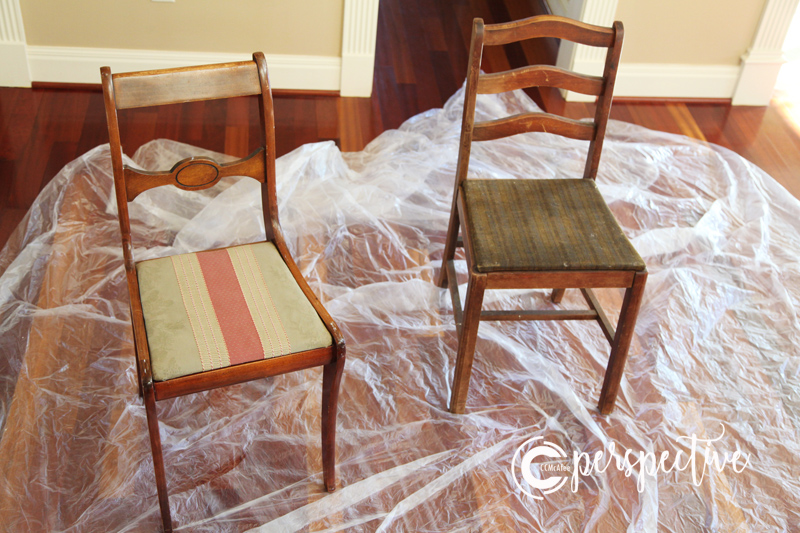
I wasn't sure where I needed/wanted them, thus the long wait for them, in their dreary state.
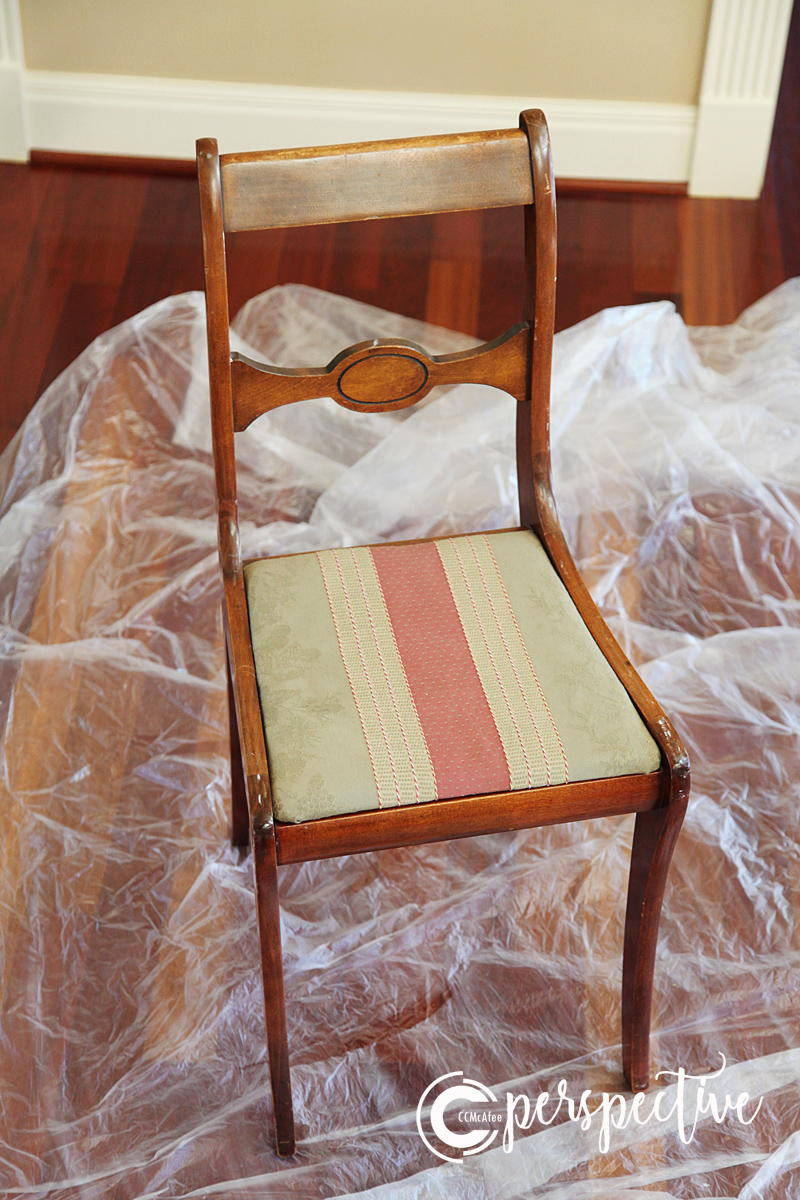
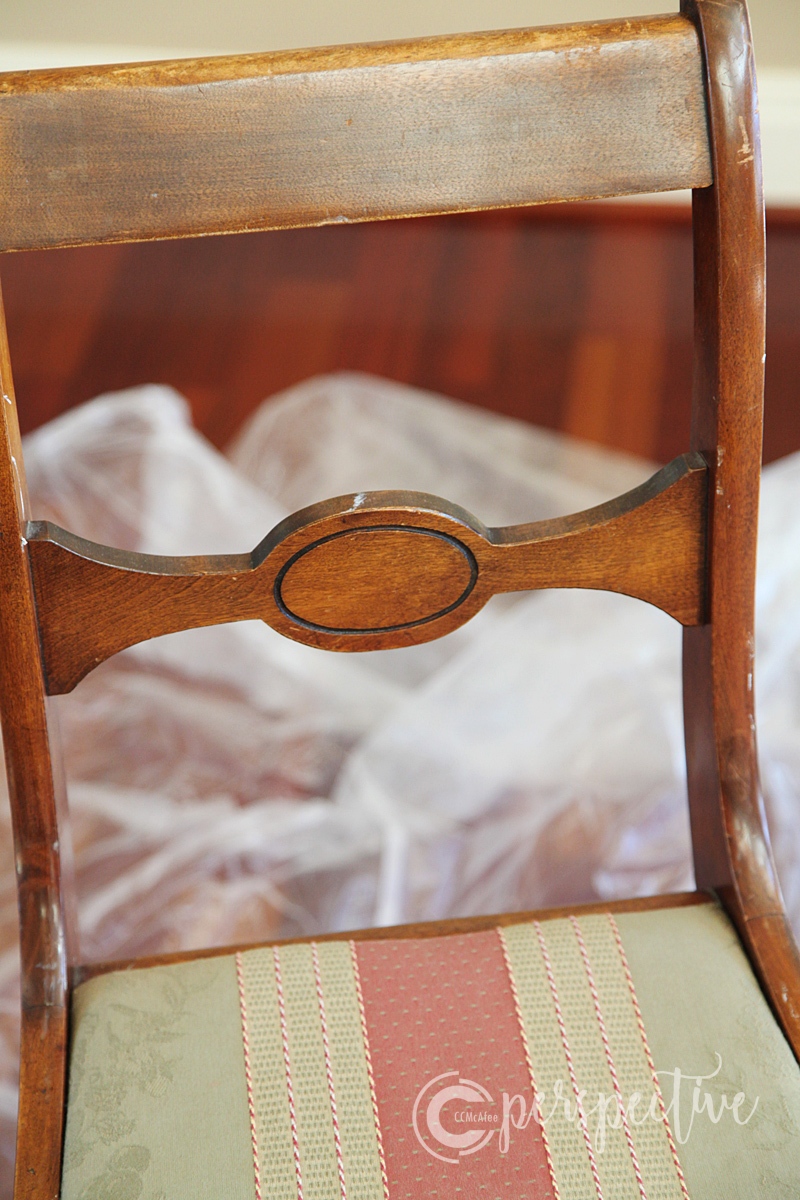
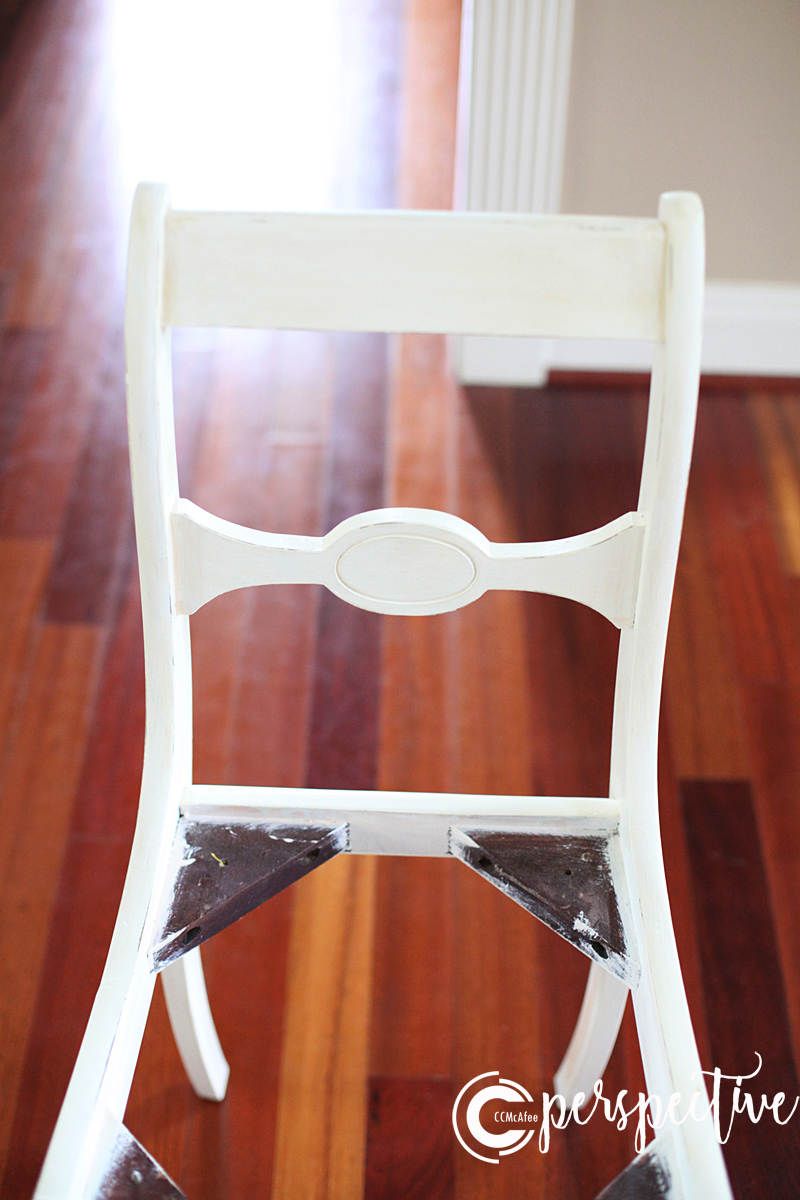
They are cute right? I love the details in the backs of them.
While working with my first client we decided that the small desk area in her kitchen needed a cute little chair. I had a chair I could use, so we decided to go that route. I figured as long as I was working on her chair I may as well do the other one. I'd decide where to use it later.
I found fabric for both chairs and got started.
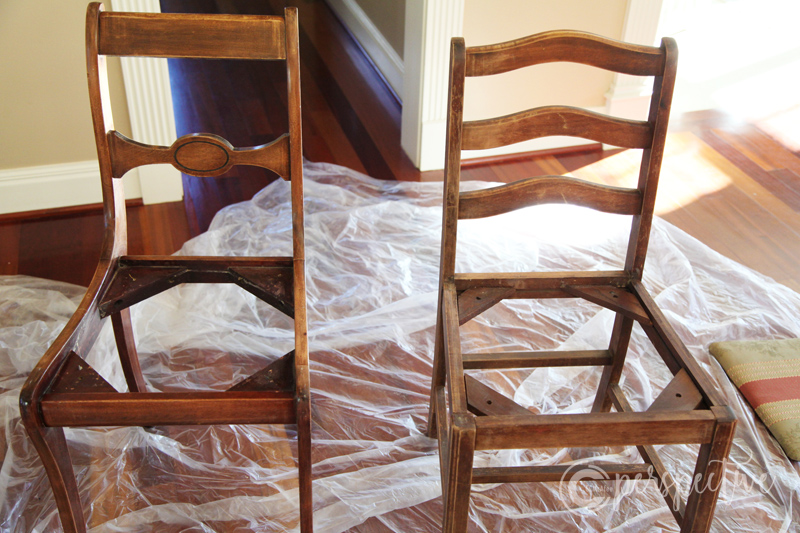
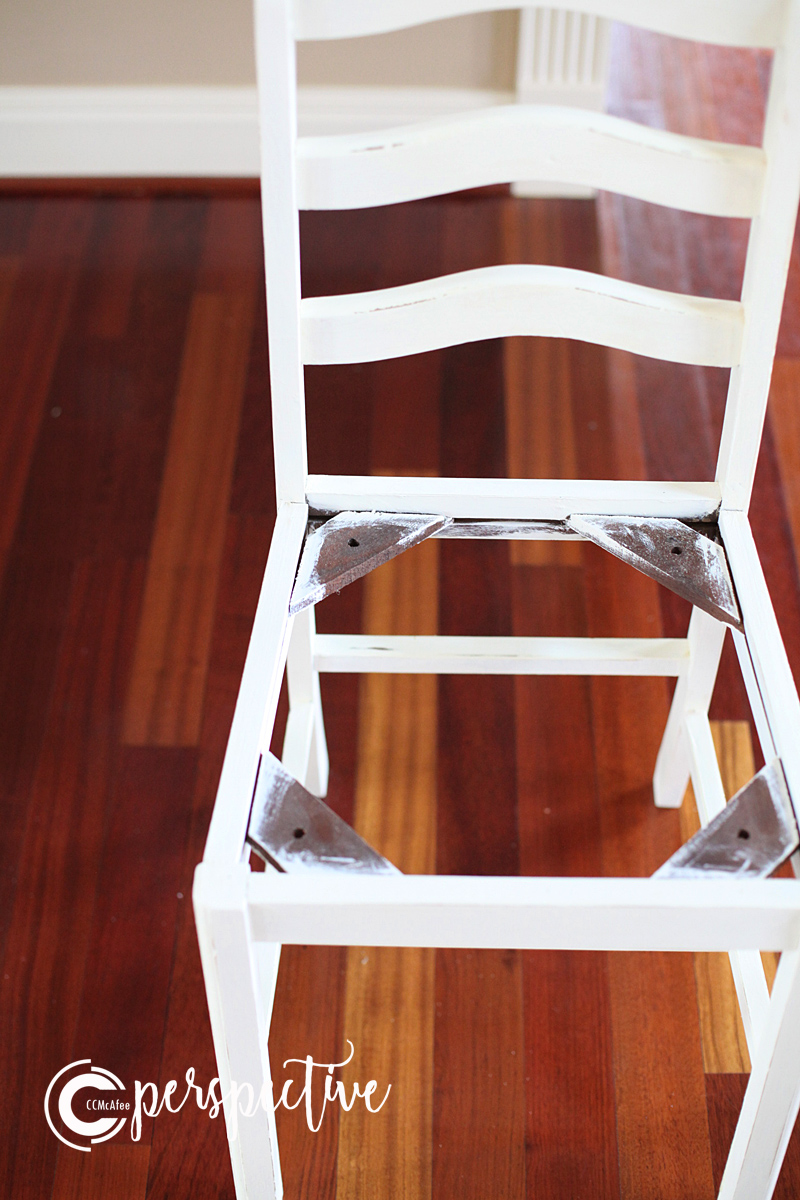
I took the seats off, gave them a pretty good sanding and wipe down.

Sometimes I begin with priming (with Killz), but I thought I wanted to use chalk paint on these chairs, no need for priming.
Then after I did a coat of chalk I decided I wanted to use regular latex. So I sanded again, just to smooth it out. I applied the latex over the chalk paint.
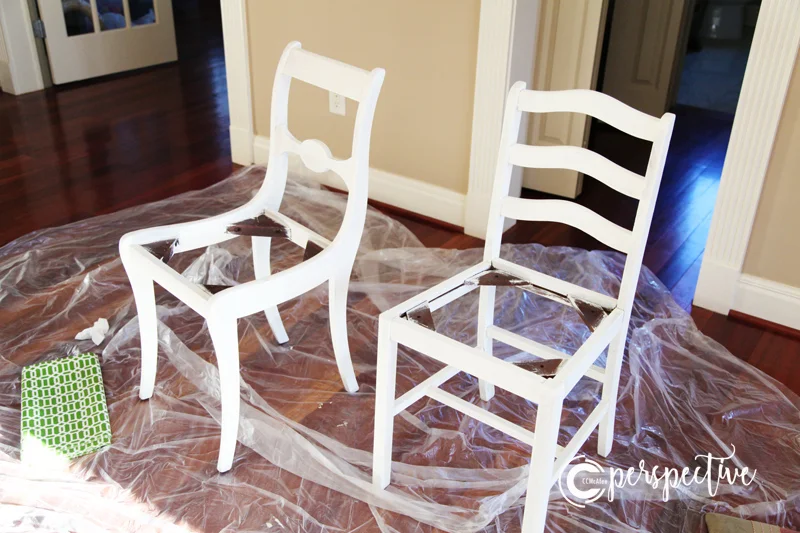
I still distressed the chairs, then I put a poly over the top.
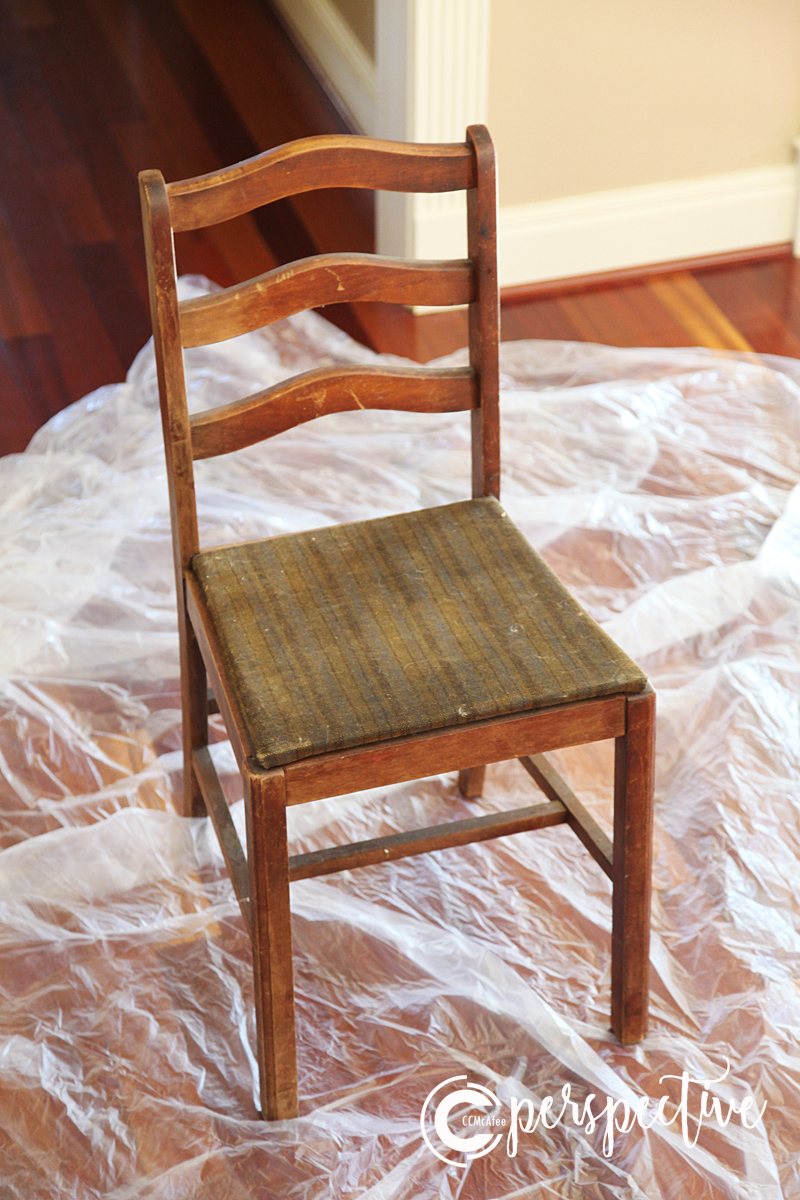
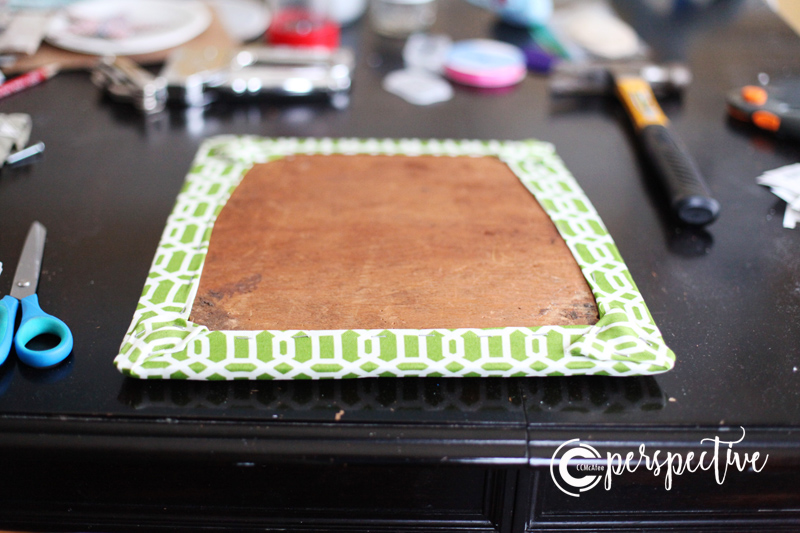
Now the fun part, the fabric tops! I took the fabric off both sit boards, and the old padding that was on there. The chair with the 3 curved slats is an old chair. It had original woven grass under the fabric. It was cool, and musty, stripping it down, seeing some history!
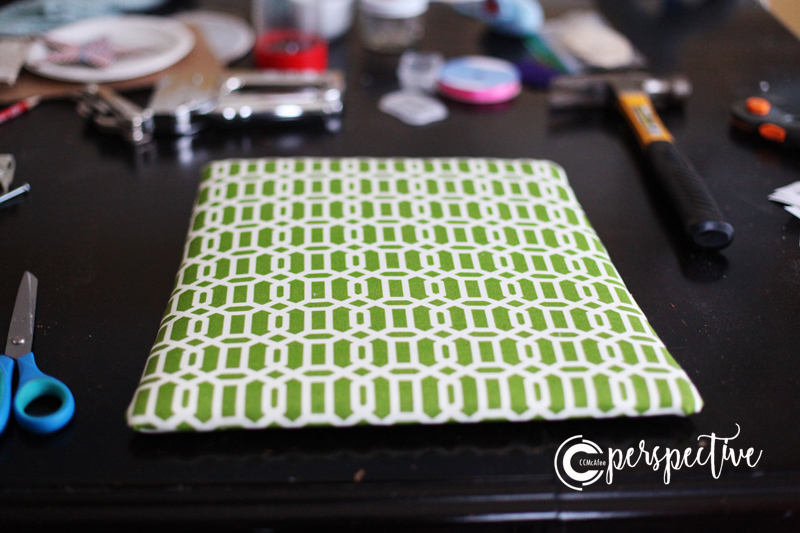
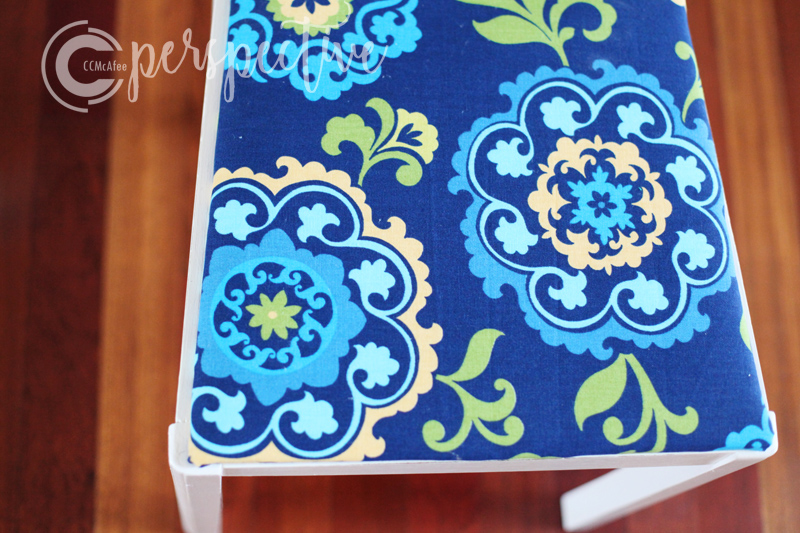
I added new, thin padding and stapled my fabric in place. The original screws were still in good shape, so I used them to reattach the seats to the chairs.
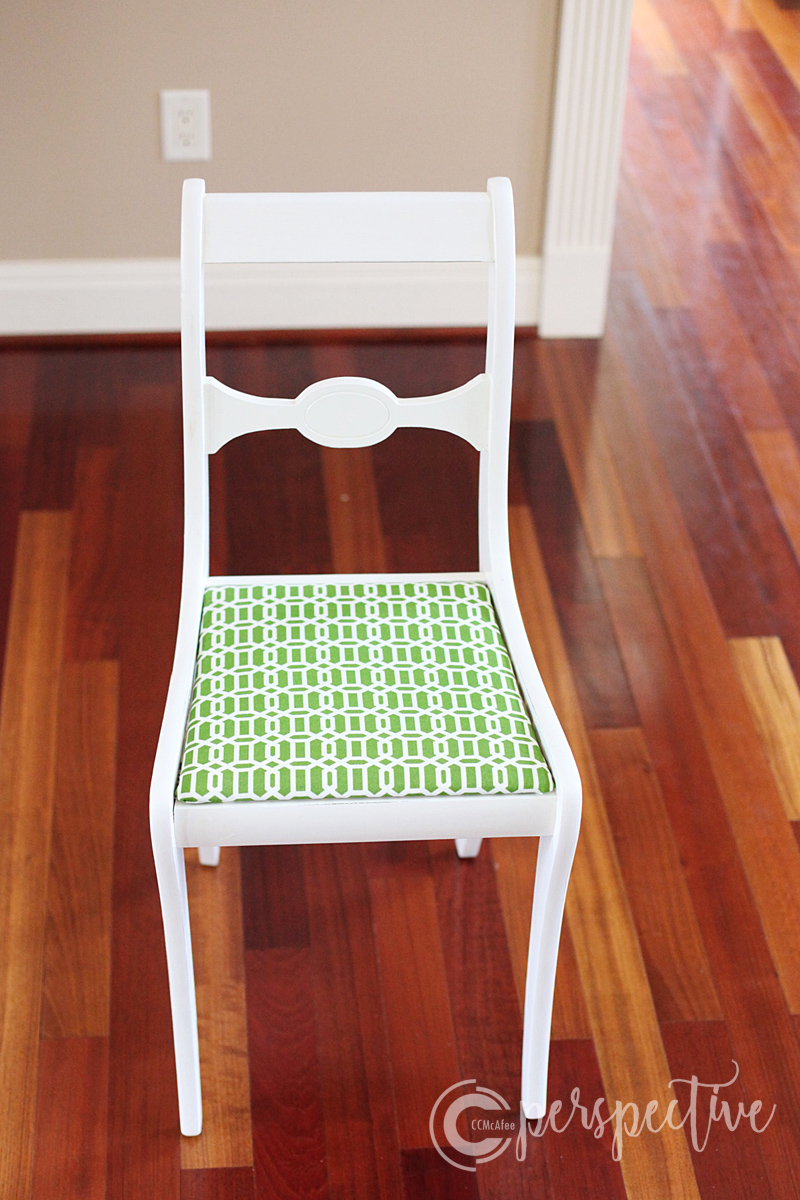
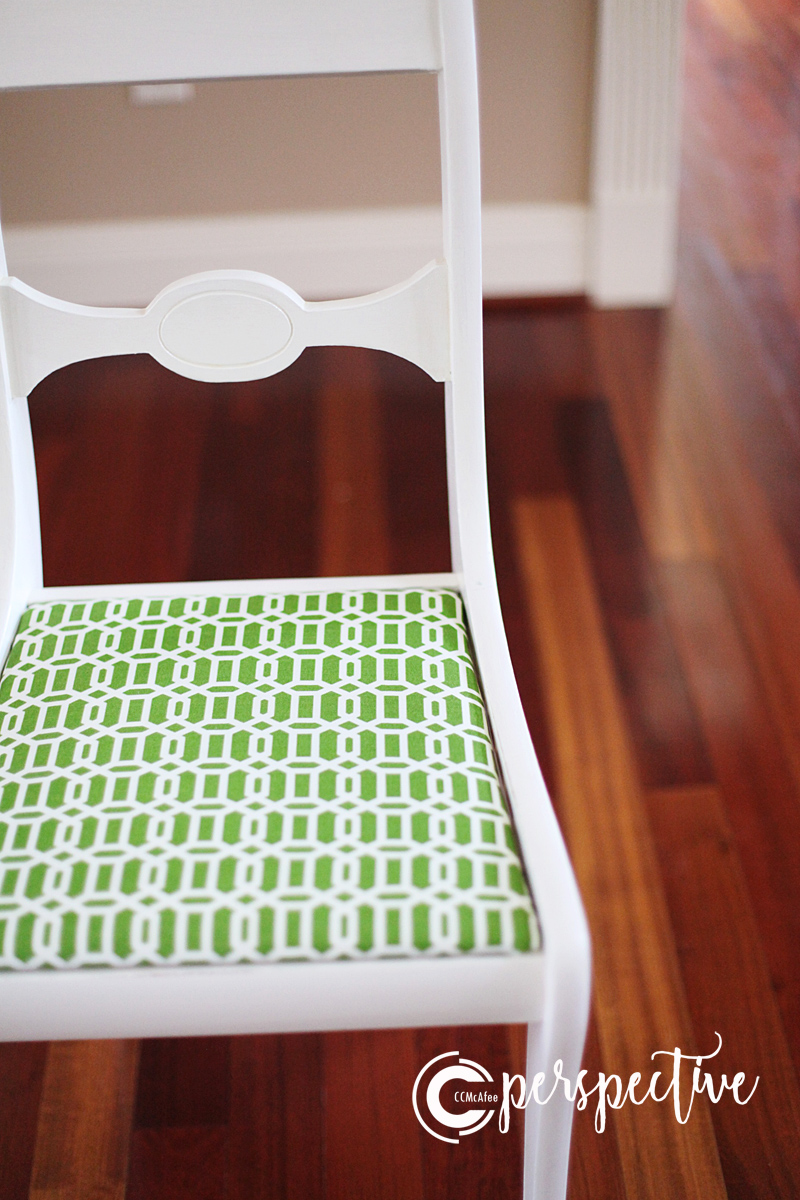
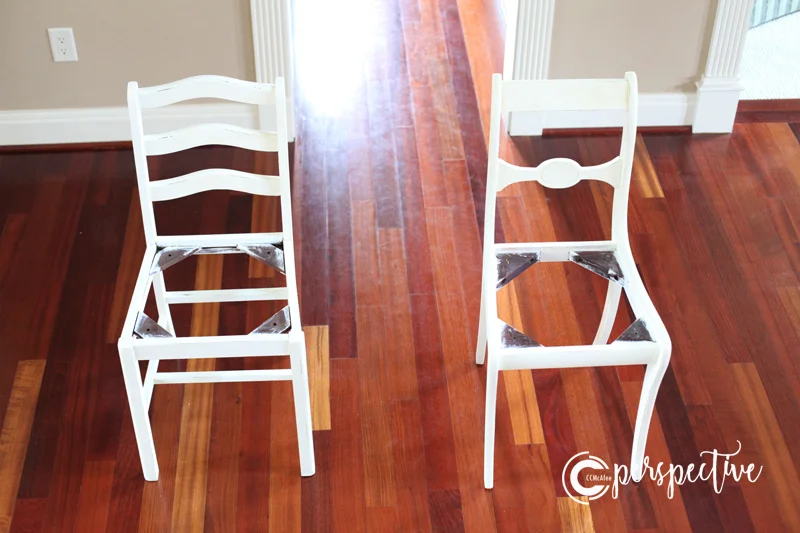
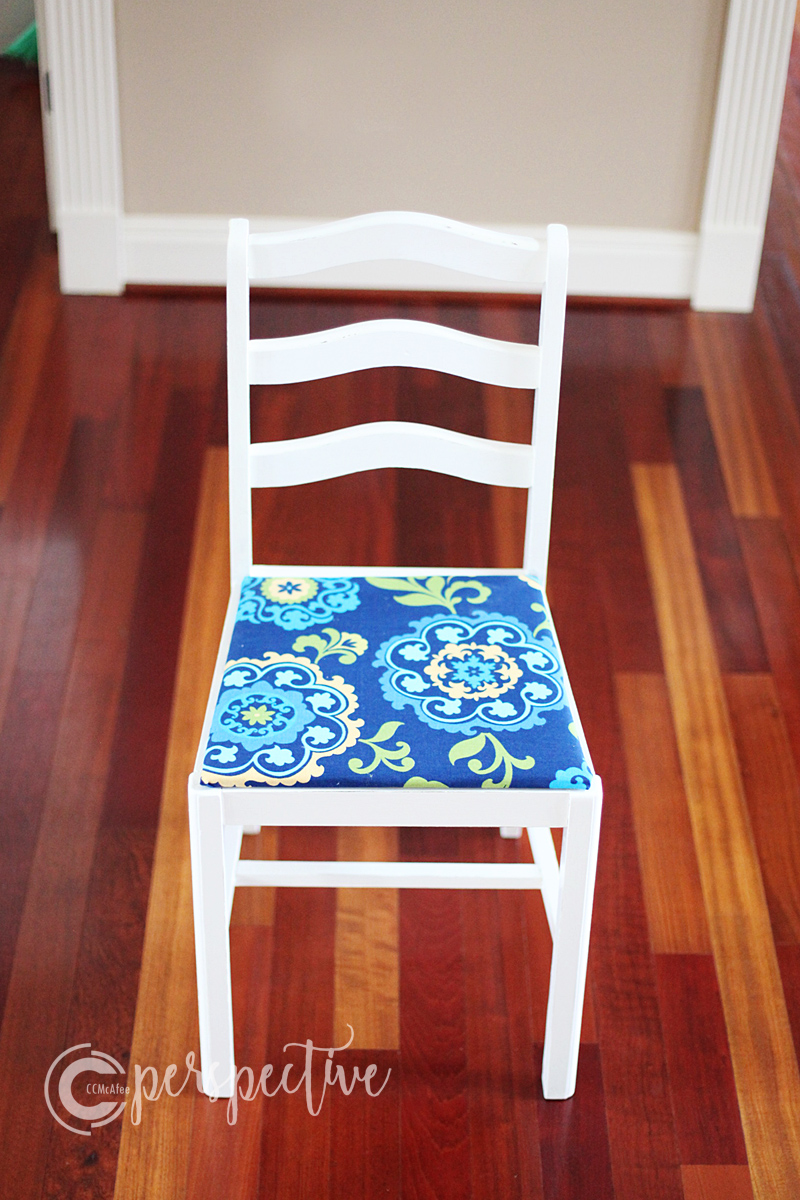
This is the chair I'll keep for me. I've decided it will sit at my sewing desk.
This is the one I did for my client. She was happy with it!
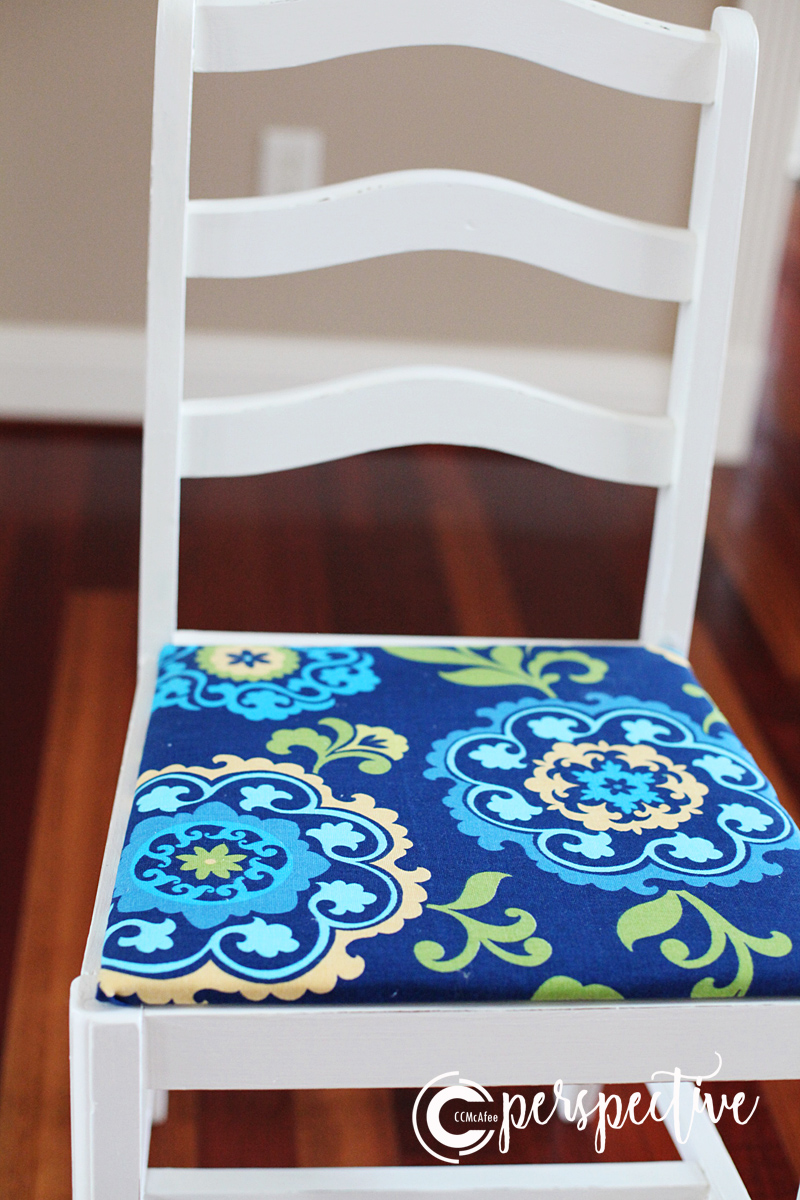
I love how they both turned out!
Here is one more look at the before and after of each.

