
It's Time! My Lego Organization Solution...
Hi friends!
How are you all?
I'm feeling like spring might actually be here! And I'm feeling the feevah!
I have been cleaning and organizing something fierce!
Partly it's just how I work. Instead of just putting stuff away I have to take everything out, reorganize it, then put it back!
After coming home from Florida there was so much stuff everywhere, from pulling out shorts and swimsuits, luggage, laundry etc... It has sparked an organizational fire within me.
That AND the promise we will be moving to the house we've been waiting for next year! (More about this later!) It's time to clean out, organize, simplify, sell!
Just this week I decided to take on our Lego problem!
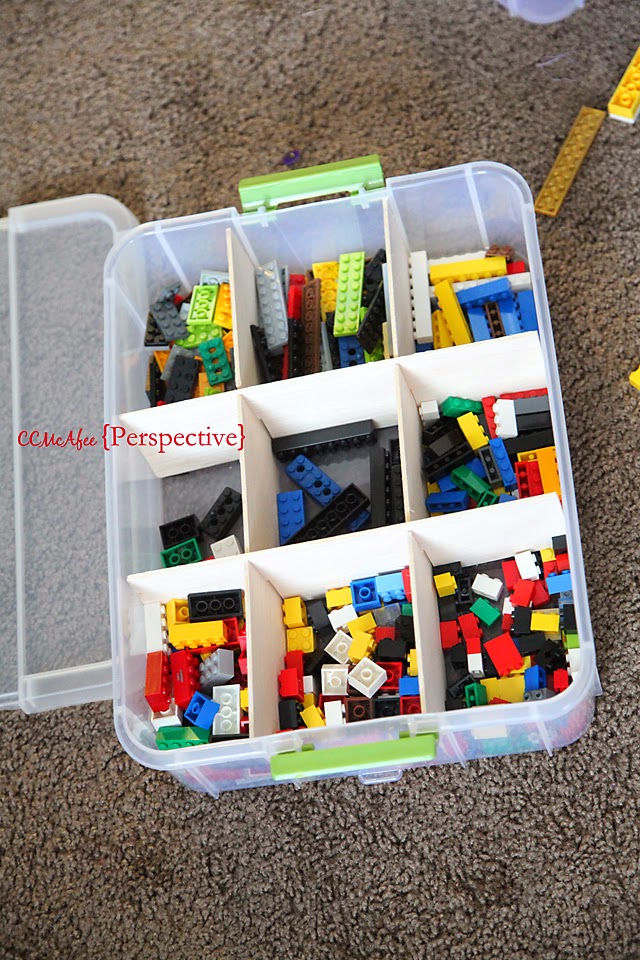
Look at how pretty our Lego's are now!
I bought some containers that snap together and created my own dividers.
We spent time dividing them all out, and have even had a few days to test the system.
Like a dream, this is! I'll show you how I did it.

The boys love Lego's, more now than they ever have. I love that they love Lego's. I love that all three of them can build, then play with what they build.
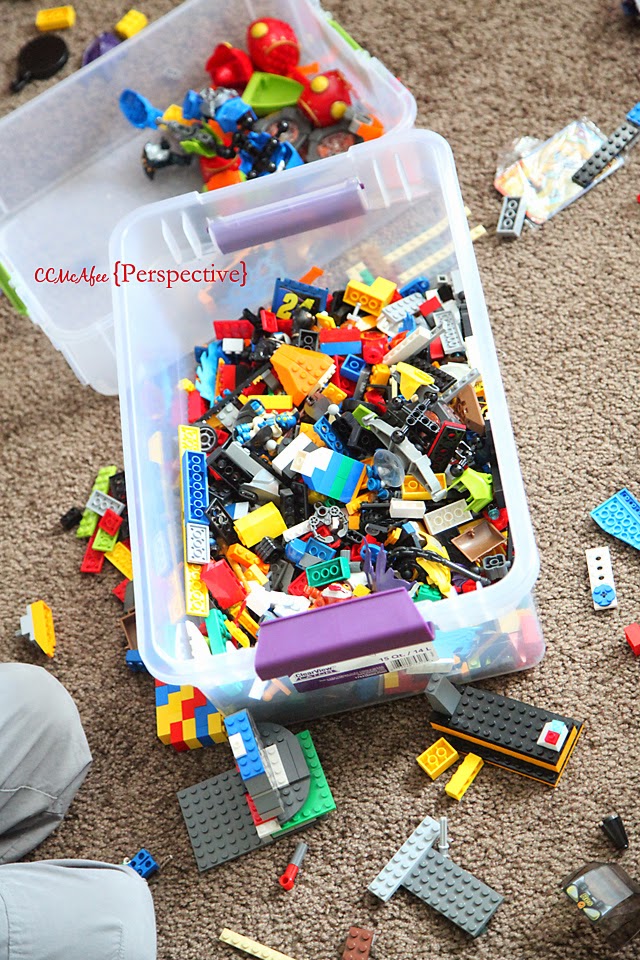
This has been where we've housed all of the Lego's.
The problem with this is that it's no fun to sift through everything to find what you are looking for. It's much easier to dump out the whole container and spread them out, right?
Then you have to clean them all up, because mom doesn't like your room to be so messy, and everyone steps on them, then cries... disaster!
I saw this circulating pinterest.

Hmmm, organization!
A drawer is a great idea, but doesn't work for us. We have a mattress under the bunk beds, no room.
Plus, I want them to be able to pick them up and carry them, be able to transfer them, and I want them to be covered, our house is dusty!
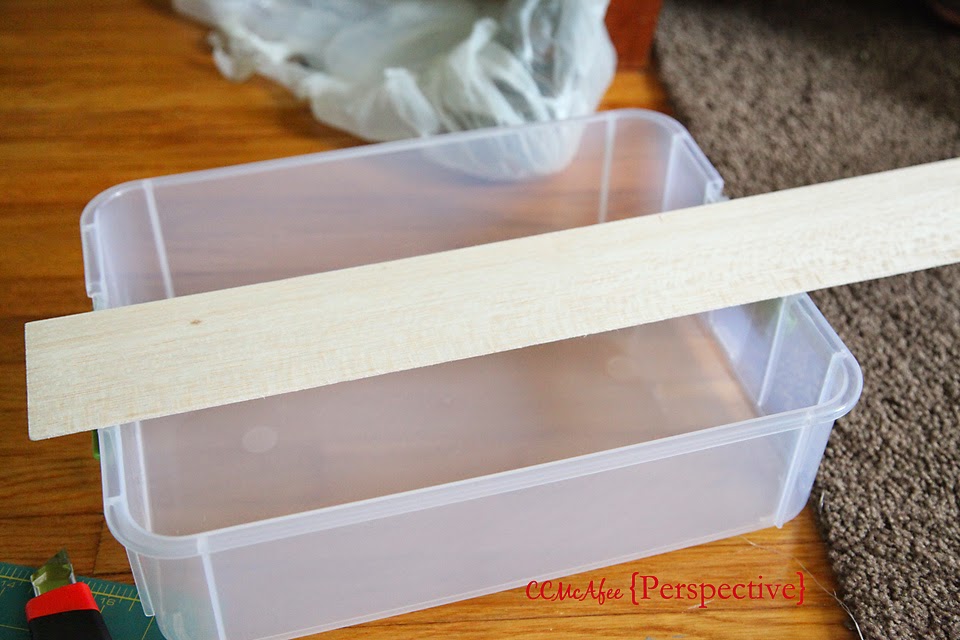
I bought these Sterlite stackable containers from Target (no, this is not sponsored, it's just what I bought!)
I wasn't sure what my solution was when I bought these, I wanted to create dividers, wasn't sure how.
I considered gluing wood pieces into the plastic, I have wood and glue, but then I'd have to get out the saw and cut, and that takes time, adds weight... I'm not so patient. I wanted an easier solution.
I decided it would be a good idea to create the box dividers, like what is in my Christmas ornament box!
After looking around the craft store, searching for inspiration, I bought these long pieces of Balsa. It is a foam-like wood. It's is very light. I bought 3- 3 ft lengths.
There are all sorts of soft woods at the craft store.
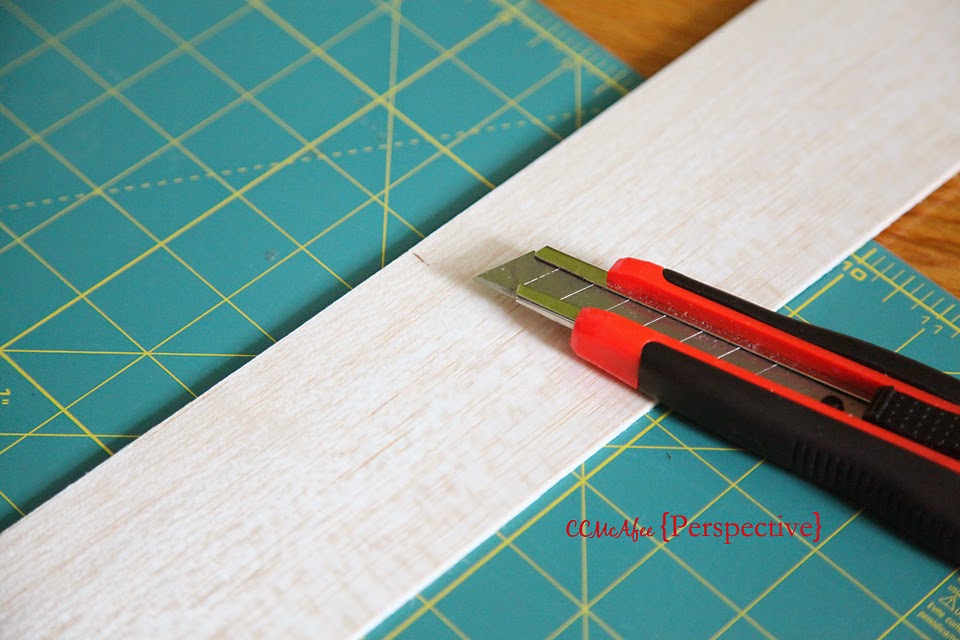
The great thing about this is that I can cut it with a blade, not a saw!
You could also use foam core board. It may even be more sturdy than this. I found a stash of that in my house today and it's pretty solid, should've cleaned first, then I could've just used that!!!


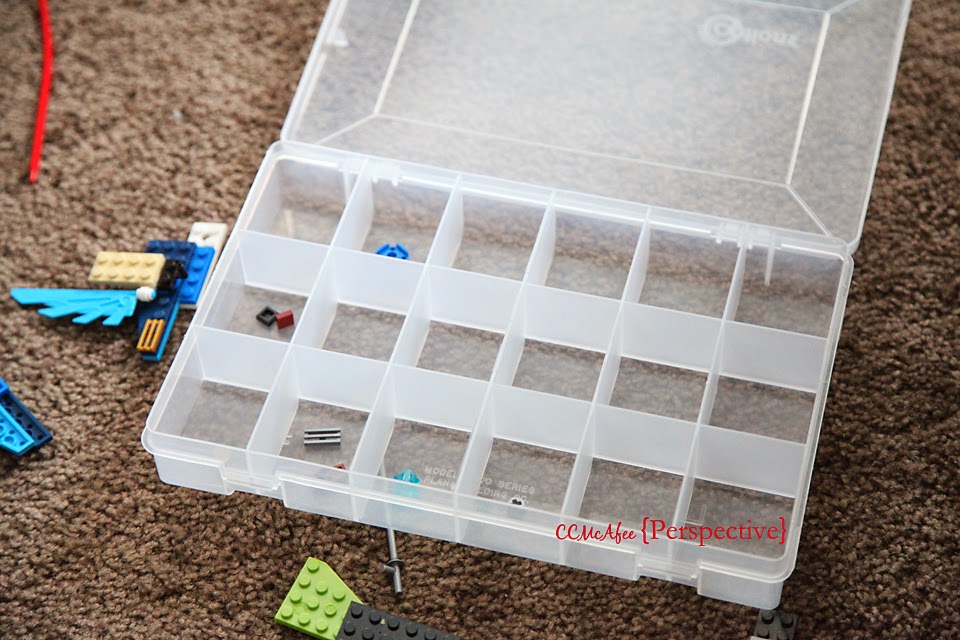
I also bought two of these divided containers at the craft store. They were 2.99. All of the tiny pieces go in here.
O worked on this while I created the dividers. He is awesome!
To make the dividers I just measured the length of the container, marked it with my blade, then cut.
Easy? It was! I cut on my self healing mat. No need for any straight edge to cut, I just went for it! If you are particular, use a ruler to cut with!
I cut a total of 4 pieces for the lengths of two containers.
I then did the same for the width.
I cut a total of six of these, three for each container.

Next was the 'notching' part.
You'll need to cut out the tops of the length pieces and the bottoms of the widths.
I chose my spots, cut them out, then lay them on top of my other pieces, using them as a guide, so the notches were the same for each.
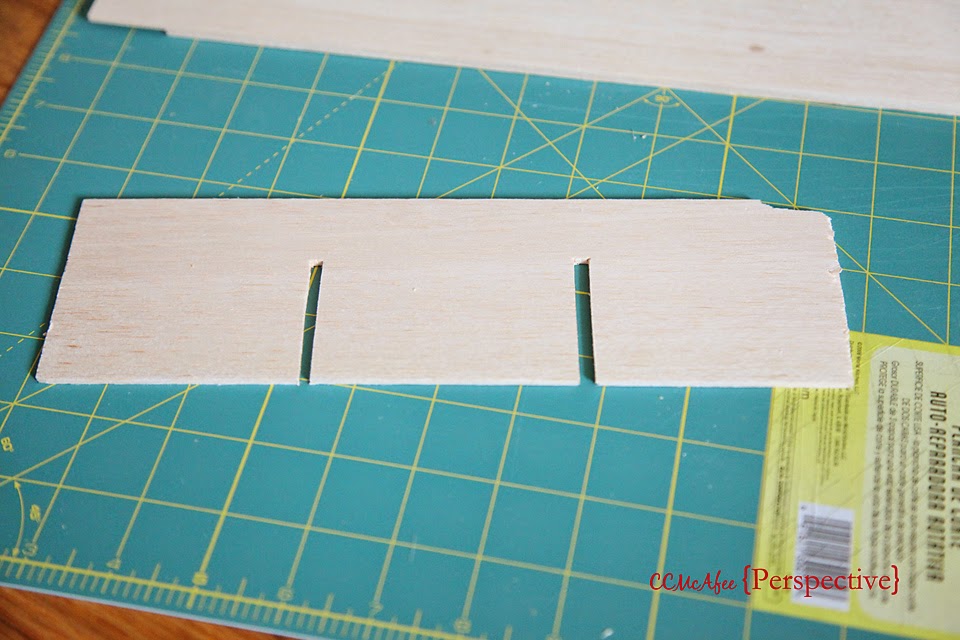
If you don't notch all your boards they won't sit flush, then you can't get your lid on, and that just stinks!
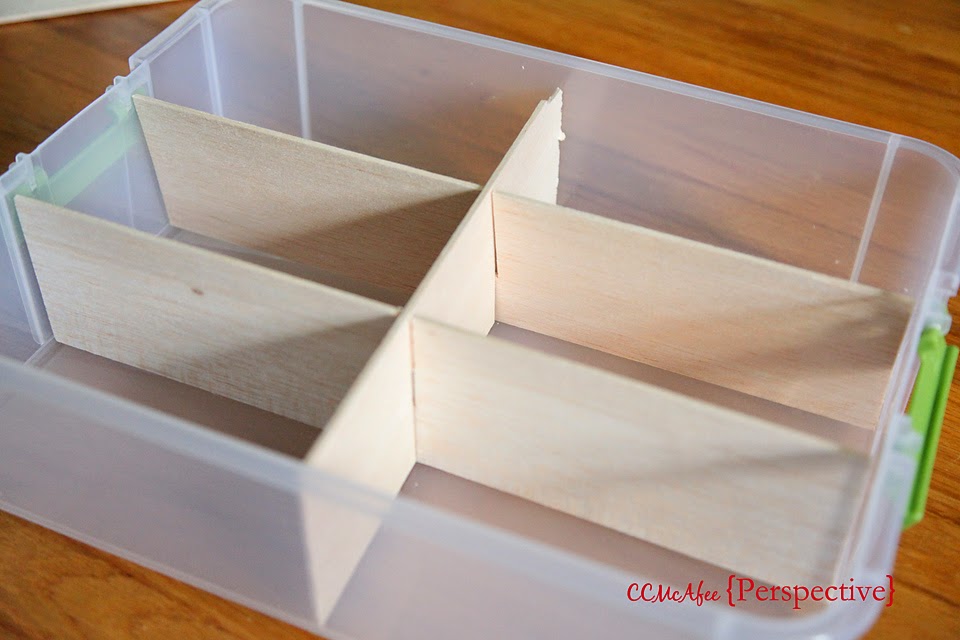
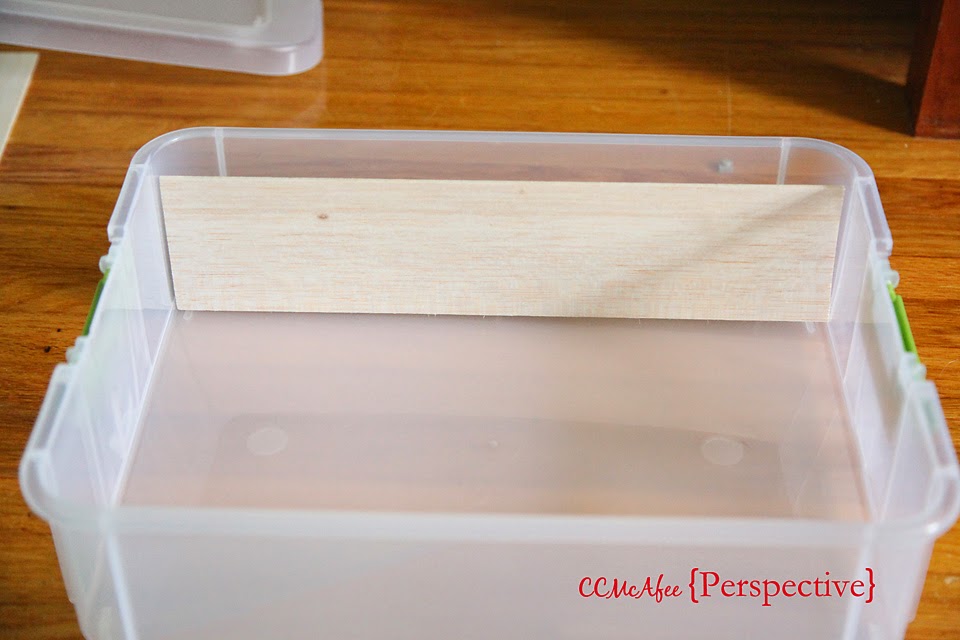
I did try to just do one divider, as shown above, but this material is too flimsy for that. Little hands in there grabbing causes them to move. You really need two width boards to hold the frame sturdy.
You can do this for as many containers you need!

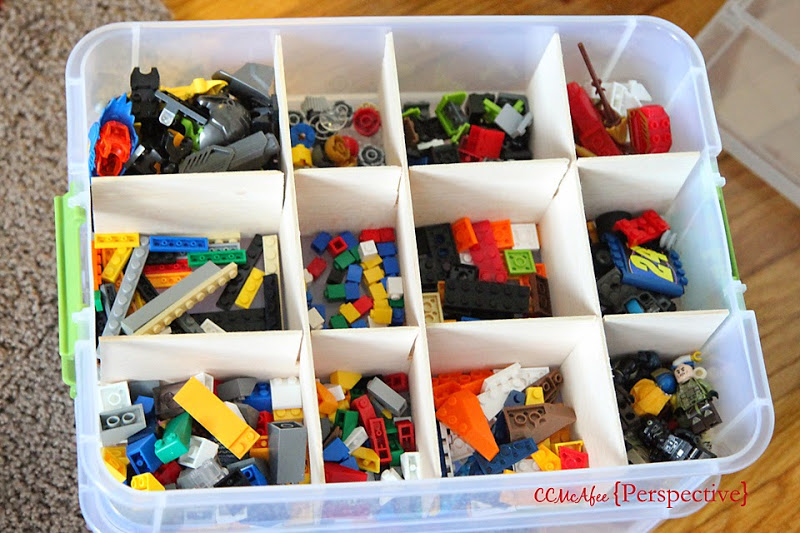
I did two containers with dividers. Here they are all organized!

I used one container to house the two 'bitty pieces' containers.
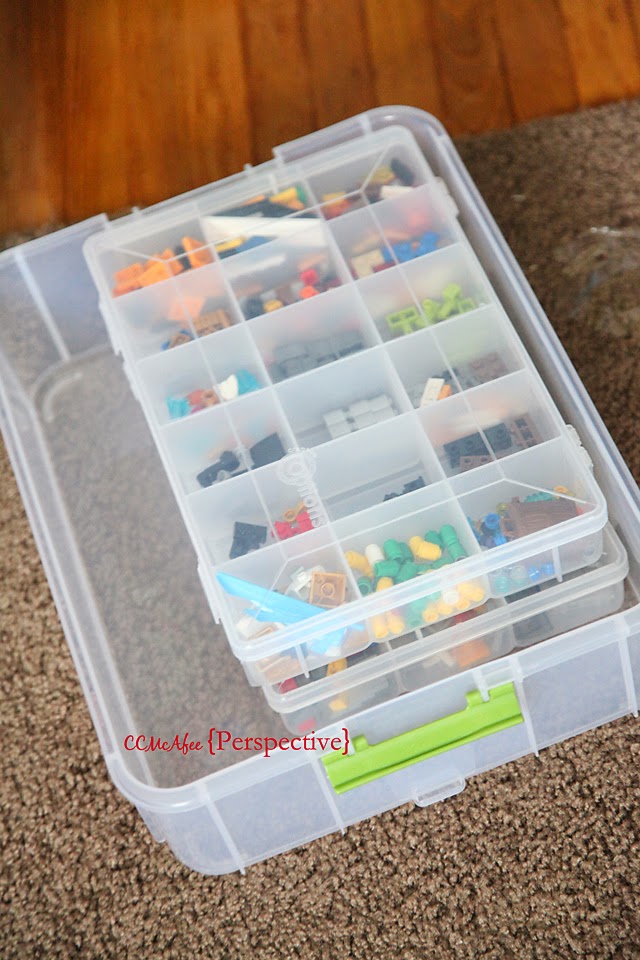
The last container houses instruction booklets (which are in a baggie), as well as larger pieces, works in progress etc.
The Lego's now sit on the floor in the boys closet. They stack so great! The boys can pull them out, unsnap them and see everything! No need to dump any longer!
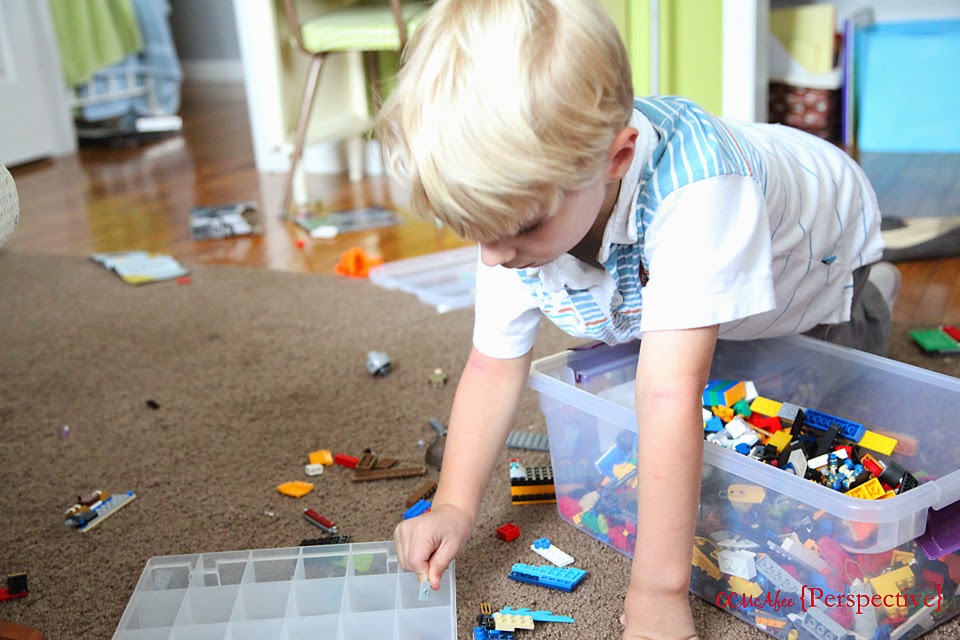
The next morning I was pleased to see little E on the floor making a house.
He had gotten them out, found what he needed and created this...
(i'll come back and add this.. having problems)
It works! We are
all
happy with this solution!
Here it is one more time! Go ahead... pin it... then make it!
