
Repurposed Tin
Do you get tins for Christmas?
You know, filled with cookies or candy...
What do you do with the tins? Do you throw them away? I can't! It may be the hoarder creative mind in me, but I must be able to do something with them right?
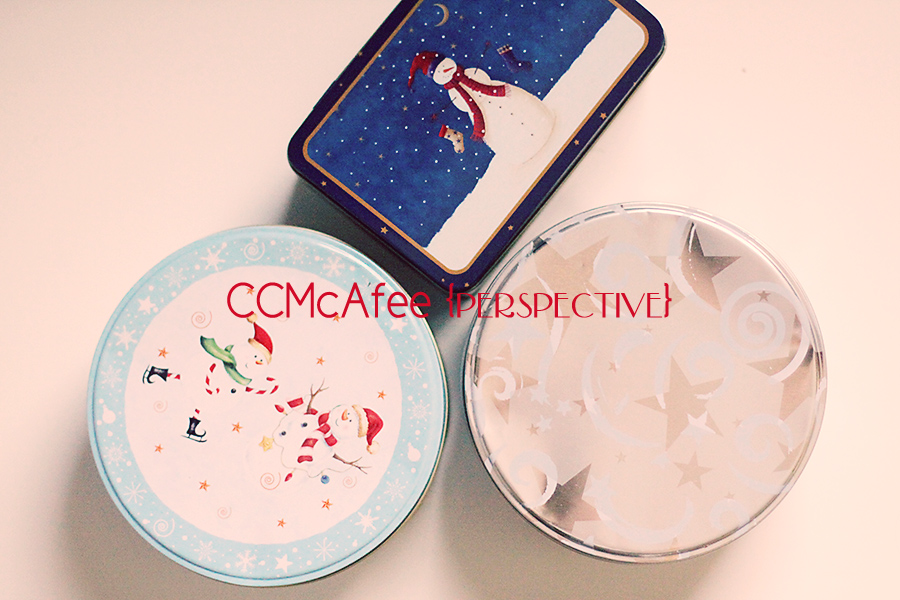
Indeed I have found purpose for these little containers!
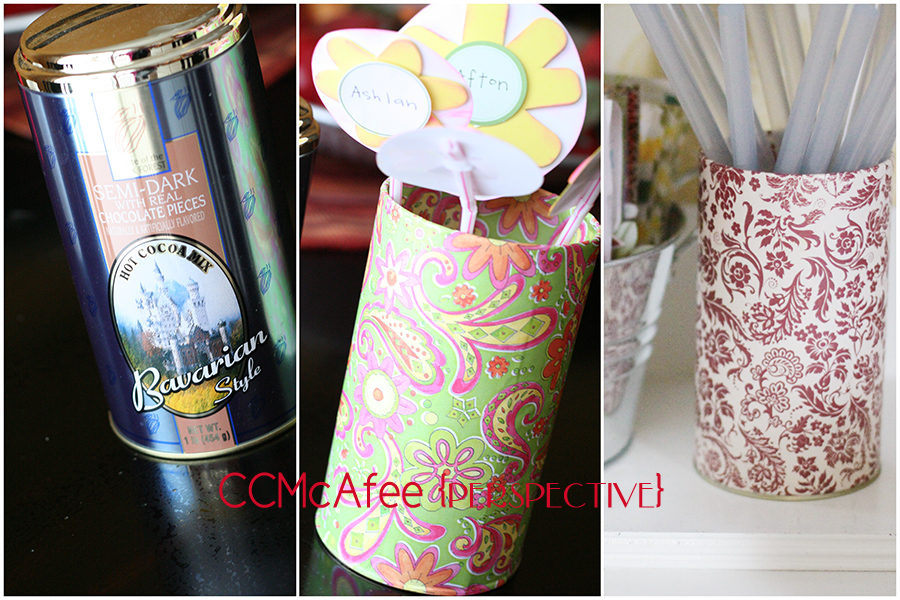
I have plenty of them stuck in drawers to help me get organized...

AND, there is more!
I have covered several of them and given them as gifts, or, again used them for storage, but cute storage!
I'm going to show you how to quickly cover a tin for yourself.
Give it a facelift simply with ModPodge and paper... add some tissue, and your own fabulous cookies... walla, you have found a new purpose for your tin! And maybe your buddy can use their new tin for some other cute storage!

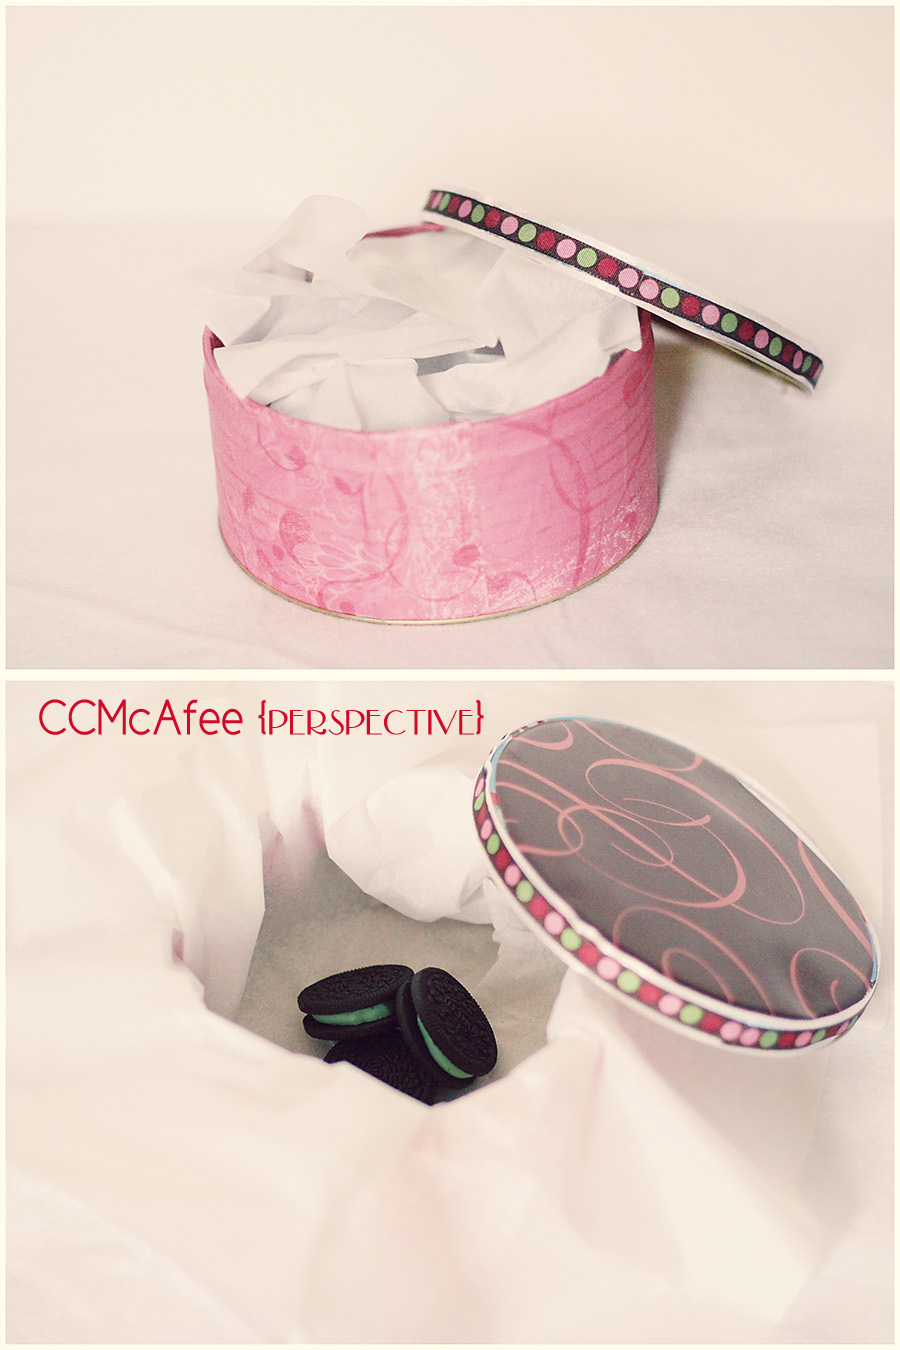
The gift that keeps giving right?
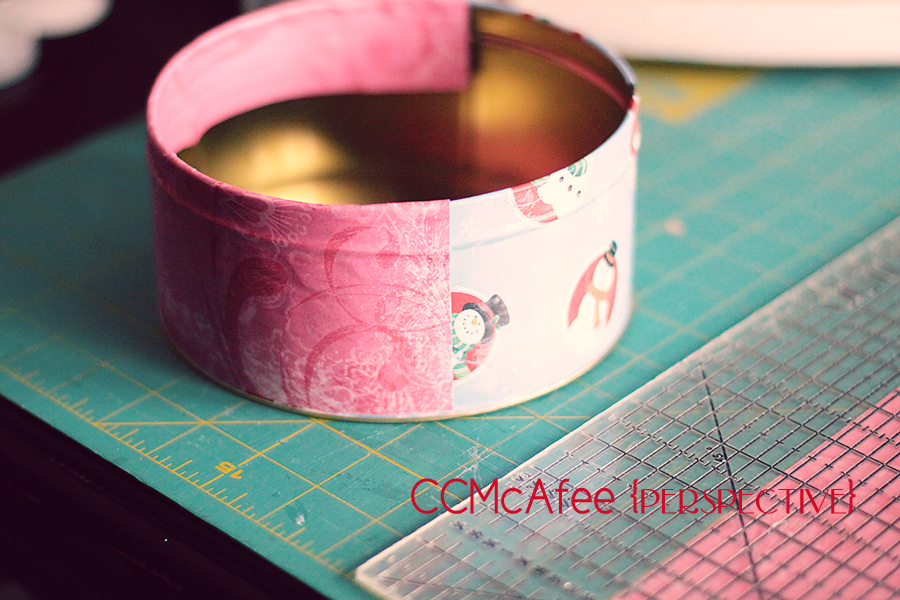
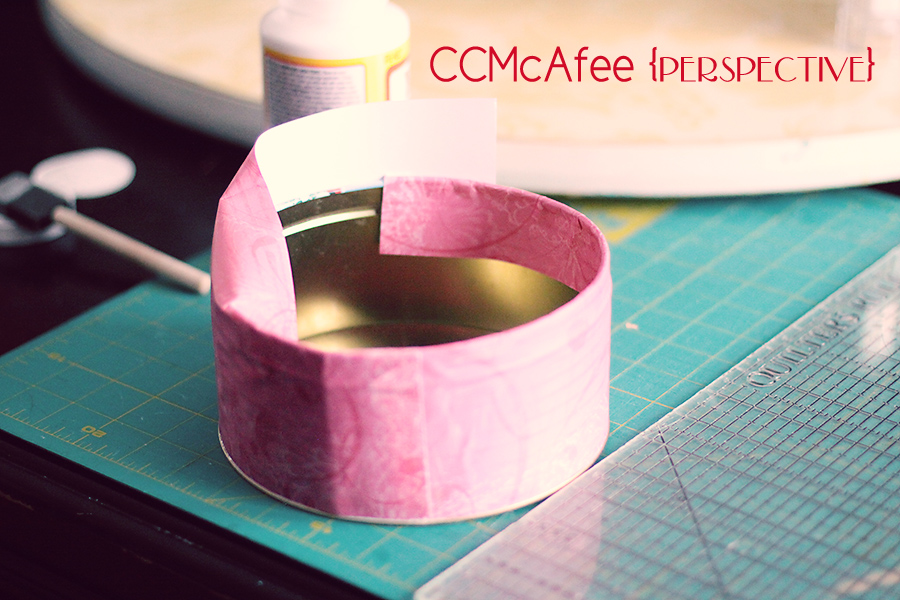
Start with your tin. Measure the height and give an inch or two on top of that, to fold into the tin.
Depending on the circumference you may need to use more than one sheet of paper. For this valentine tin I did, the glue is magical, you can't really tell there are two papers, just pay attention to pattern...

Make your cuts. Get out your ModPodge (AKA the best glue EVER) and a sponge brush.
Generously apply the glue to the tin. Apply the paper. Smooth out any bubbles. It's important to be generous w/ the glue, to give yourself time to smooth it out before it dries.
Next you'll fold the excess into the center of the tin. It isn't necessary to glue it, it will stay put.
You'll want to apply a coat of the glue on top of the paper, as a protective coating. I'd wait until after you've completed the lid, to make sure the under glue is dry.
Now, on to the lid. Trace out the lid and cut just inside of it...
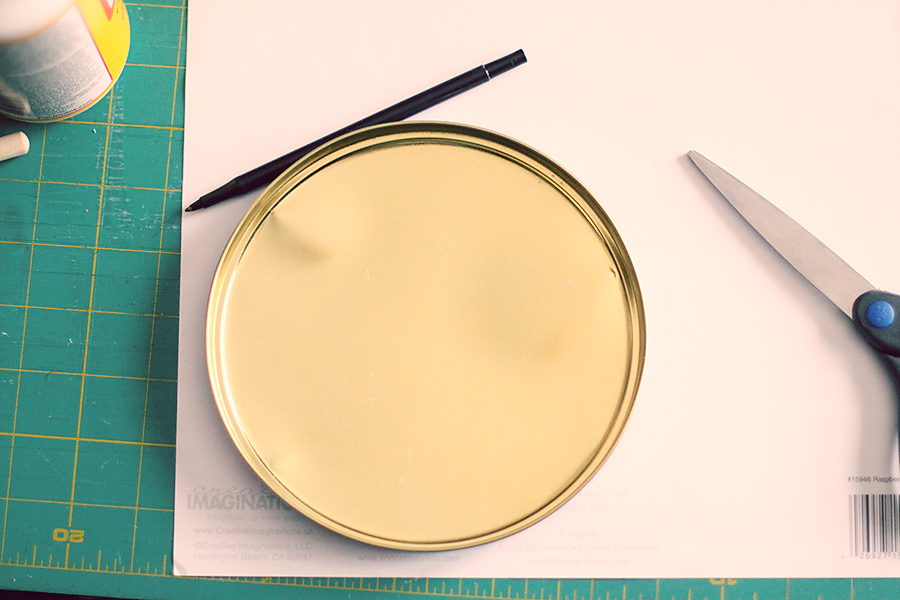
Glue it on there the same as you did the body... coating afterwards...
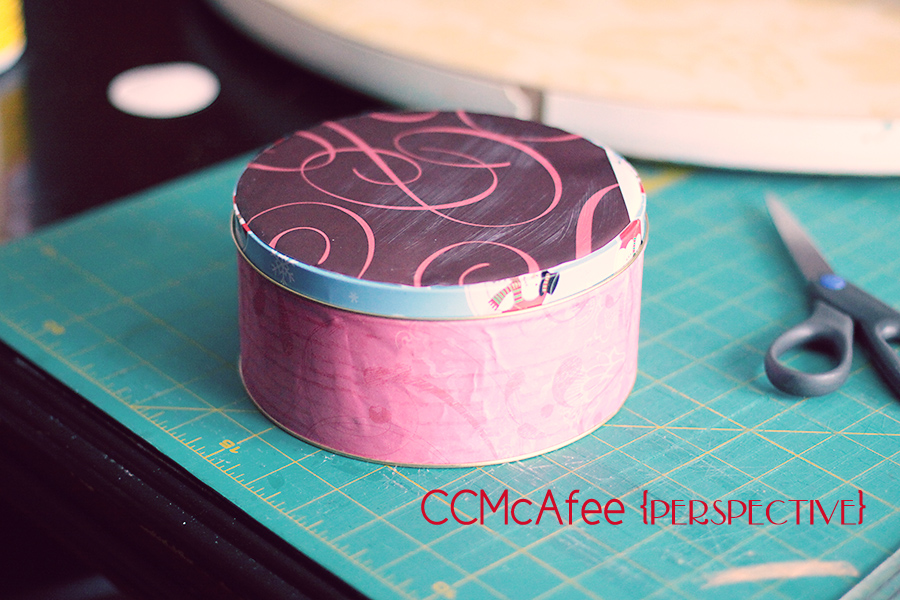
Cover the remaining lip with ribbon or trim of your choice.
There you have it! It is now ready for your sweet Valentine treat! Or birthday treat, or spring treat... think of the possibilities!