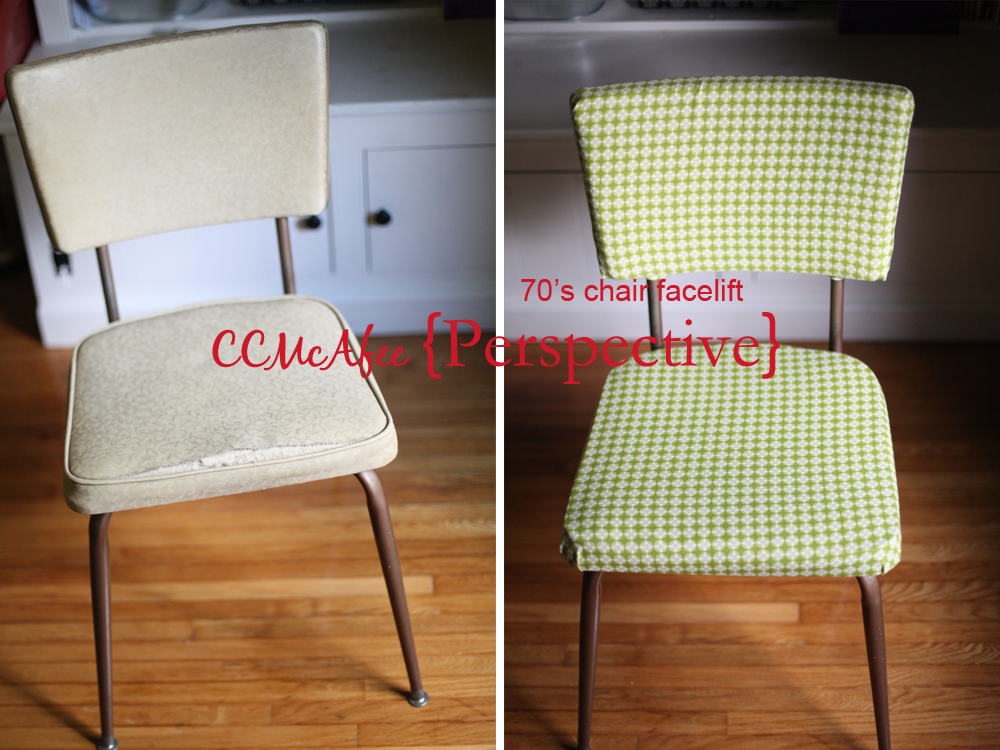
That 70's Chair
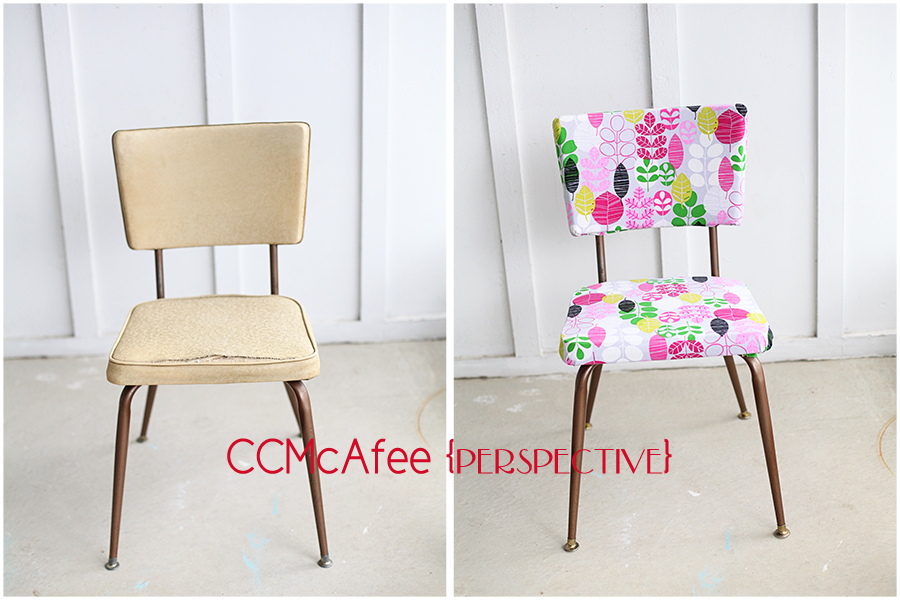
A while back I posted about finding a 70's chair on the side of the road, then the next week there was another one.
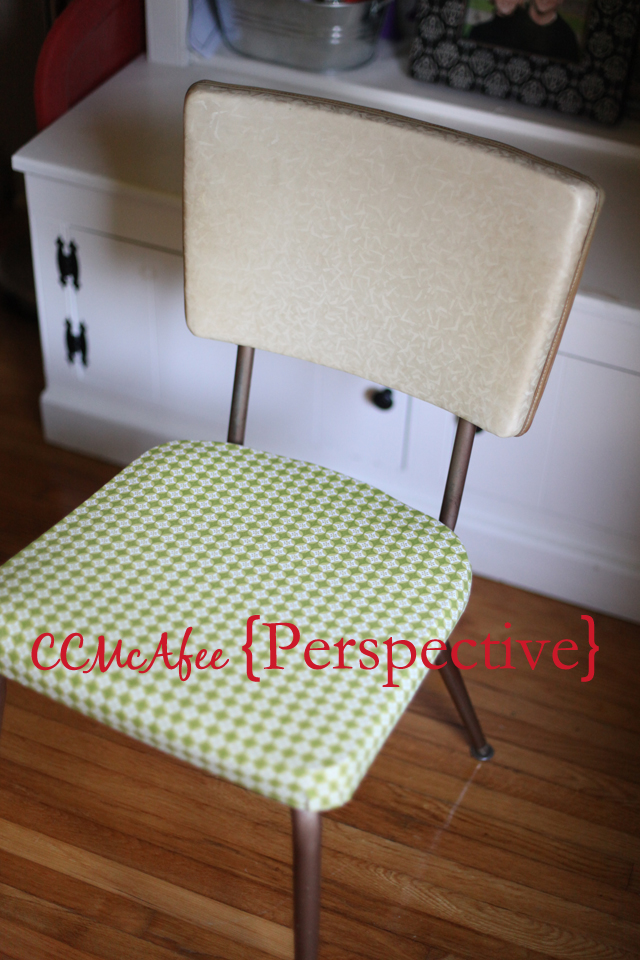
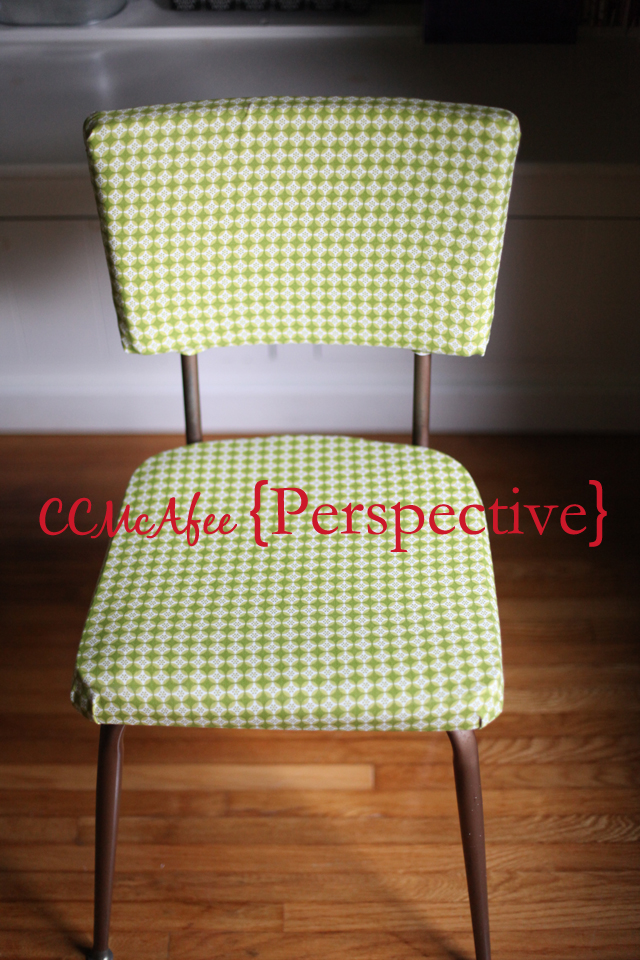
I covered the first one and posted about it here... I do love this chair, here is another look at it.
It has taken me a while, but yesterday I was so energized and alive, because the sun was shining, that I finished like 4 projects! This chair was one of them! PS, we are back to rain today... stab me now!
This chair is going in the little's room. I have another project... sewing table turned desk... that I'll be showing next week... that needs a chair.
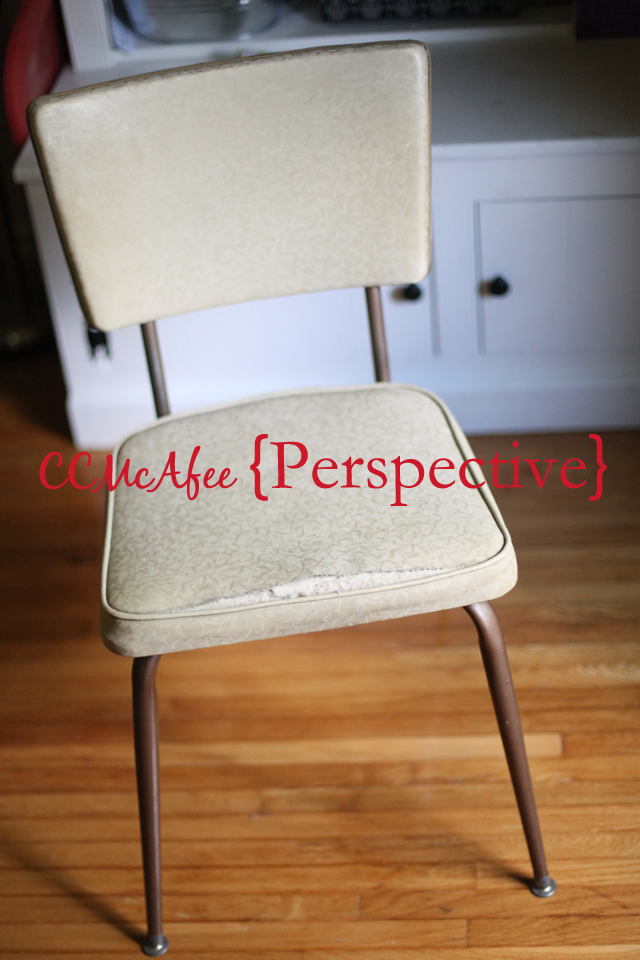
Let's start with a look at the chair...
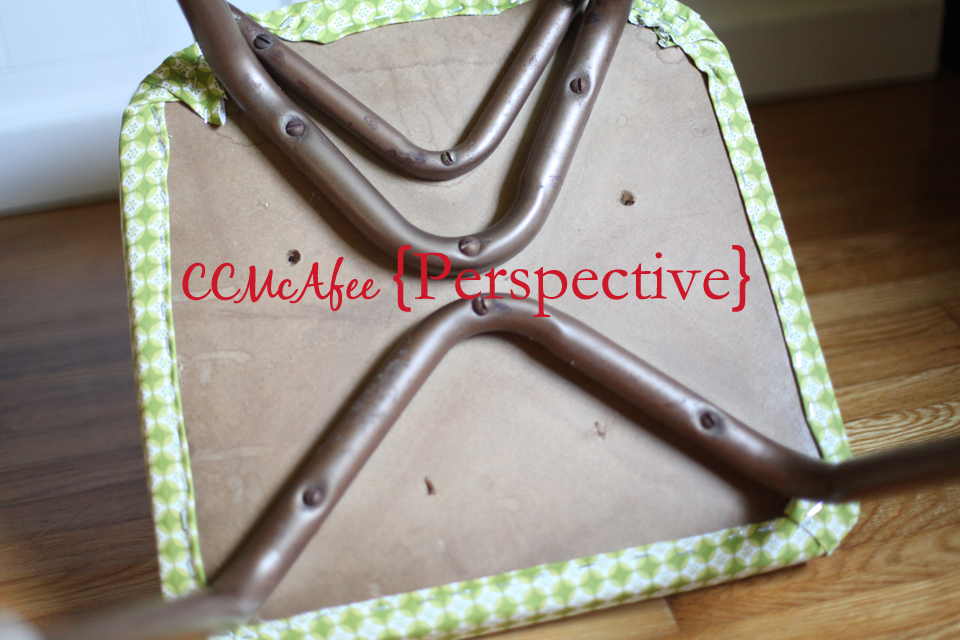
I actually didn't take the time to sew up the chair this time. I figured if I pulled tight enough it would stay together. Saved me a little time!
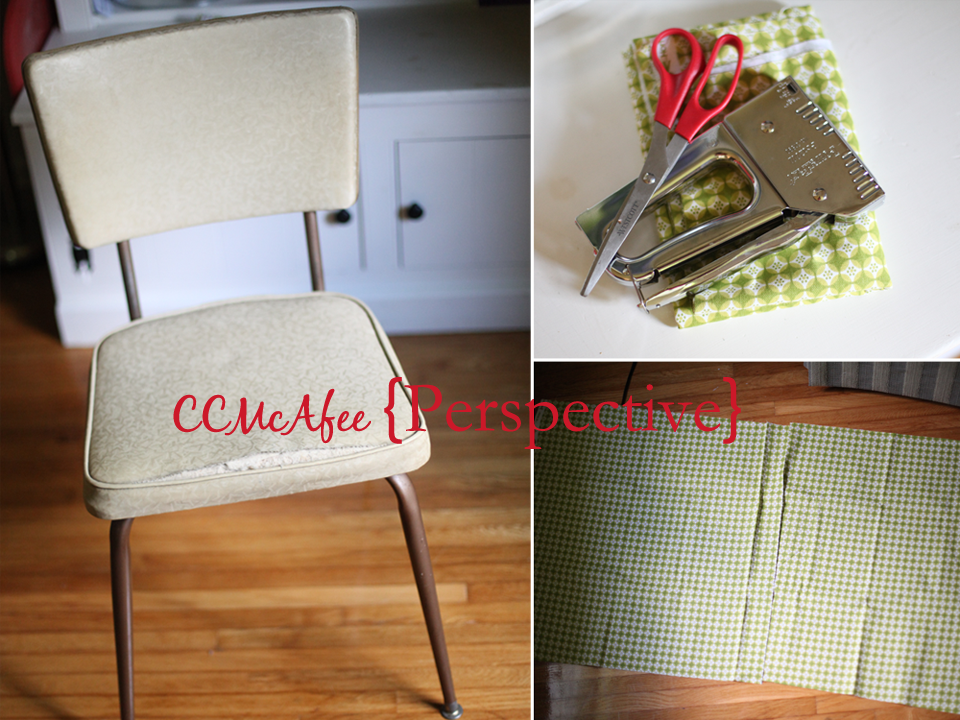
I bought my fabric at JoAnns. It's the heavier home décor fabric. You'll need a staple gun and I only needed a half yard of fabric for this chair. I roughly measured out the two pieces I needed then cut. I like the look of the metal legs so I left them alone.

I like to start with the seat of the chair. I folded my fabric before stapling to help prevent pulling and tearing. I stapled one side being careful to keep the pattern pretty straight.
I worked on the opposite side then worked the front and back.

Here is the finished seat.
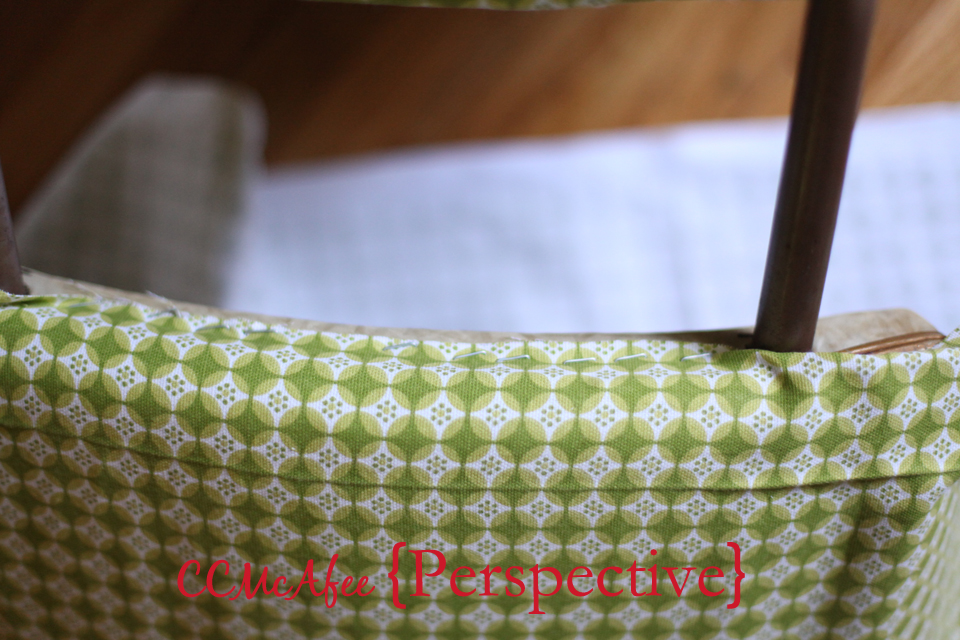
Next the back of the chair. I wrapped over the top and stapled on the bottom. I did the sides last.
You can see the staples on the edges. You can use upholstery tacks instead of staples, since you can see them. The staples aren't a big deal to me. You could paint over them so you can't see them as much or use some sort of trim to cover them.
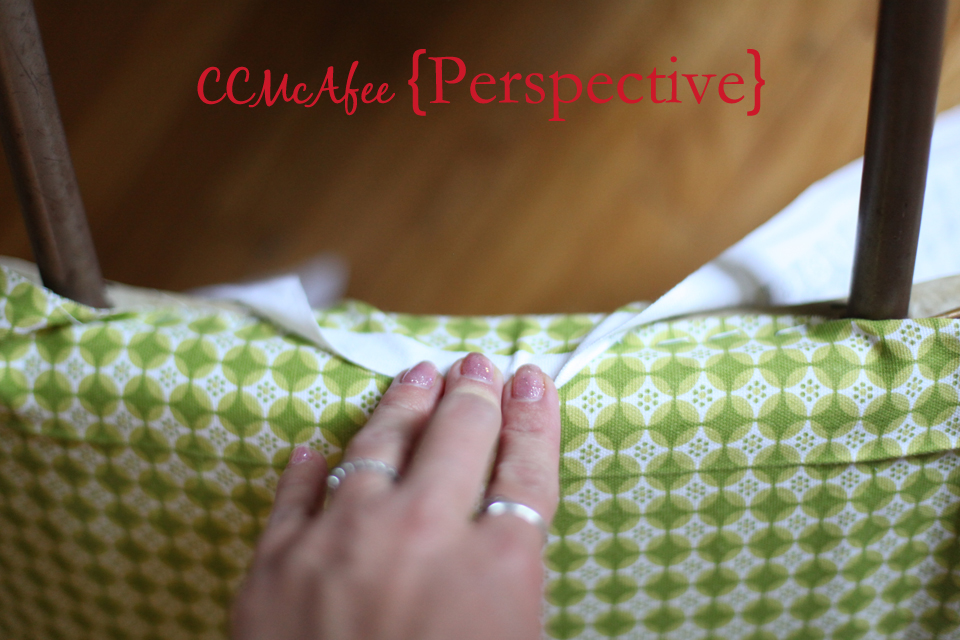
I folded over prior to stapling here too.
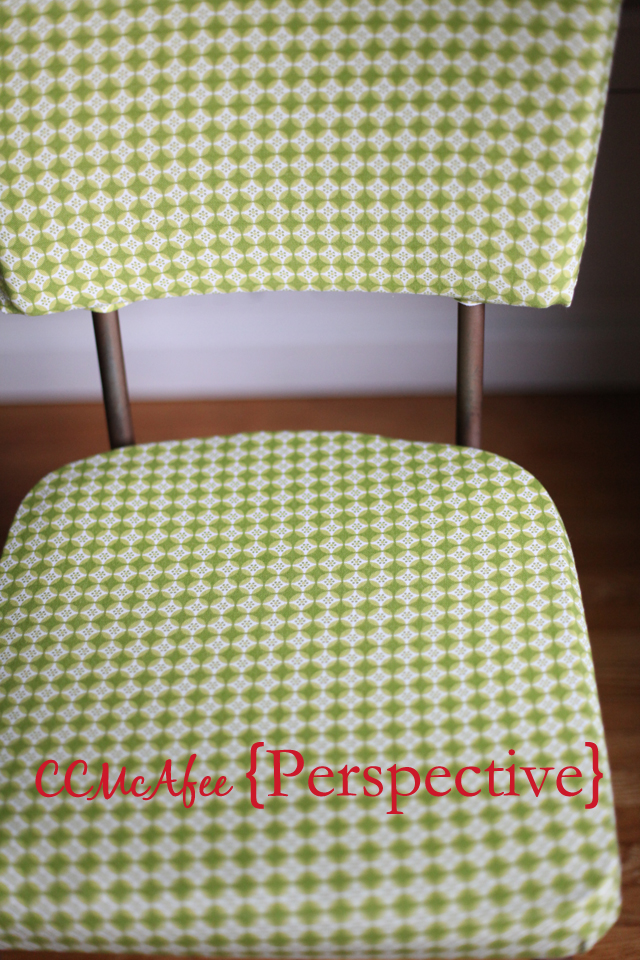
I think this fabric is so cute! Perfect for the boys room.
What do you think?
Here is a last look at the before and after.