
Sewing Desk turned .... Desk Project
I found this little sewing desk on the side of the road last year.
I painted it at that time. It had been sitting in my basement for a while, then I decided to use it for our backyard BBQ last year...


I painted it at that time. It had been sitting in my basement for a while, then I decided to use it for our backyard BBQ last year...
check out that post here... there are some printables for you actually...
At that time I thought I'd maybe sell this desk.
Then I discovered a need in the little boys room, so I decided to keep it.
But it has taken me until now to finally finish it!
I did get new/old pulls for it, I found the new fabric I wanted for the top, but it has sat upstairs in their room unfinished for way too long!
After I finished my cute chair last week, then took it upstairs to my unfinished desk... well I got the push I needed it is now done!
Here is what I did...
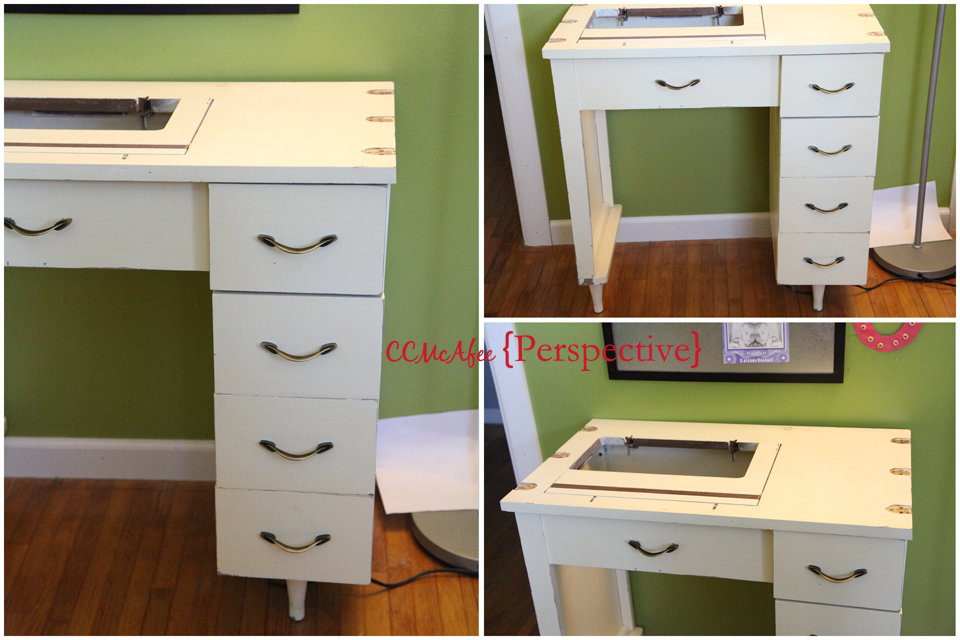
First a before... mostly.
To solve the problem of the big hole in the middle of the desk I covered a thick piece of wood with fabric. You could use MDF, ply wood etc. I planned to put plexi glass over the top so fabric and wood were fine. Husband cut that for me... he's fabulous!
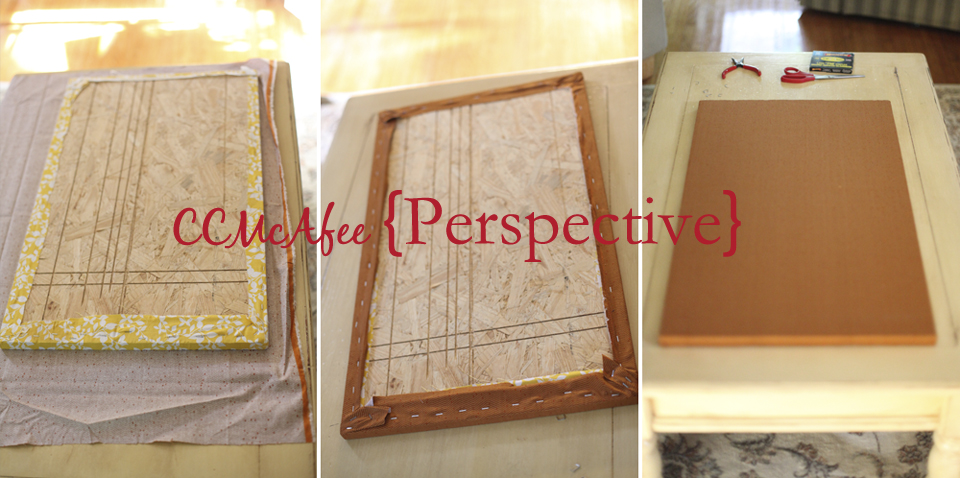
Initially I covered w/ that cute yellow and white fabric, but then decided this would go in the boys room, so I got new fabric.
I went with the orange. I just covered right over the yellow, way too many staples to have to take out... not gonna do it!
After I covered my wood I moved to the plexi.
Have you ever worked w/ plexi glass? It's great! Nice protective covering, can use dry erase on it, fairly inexpensive, less fragile than glass... it's great!
You can buy large sheets of this stuff at the hardware store. You can have them cut it for you... or buy this and cut it yourself.
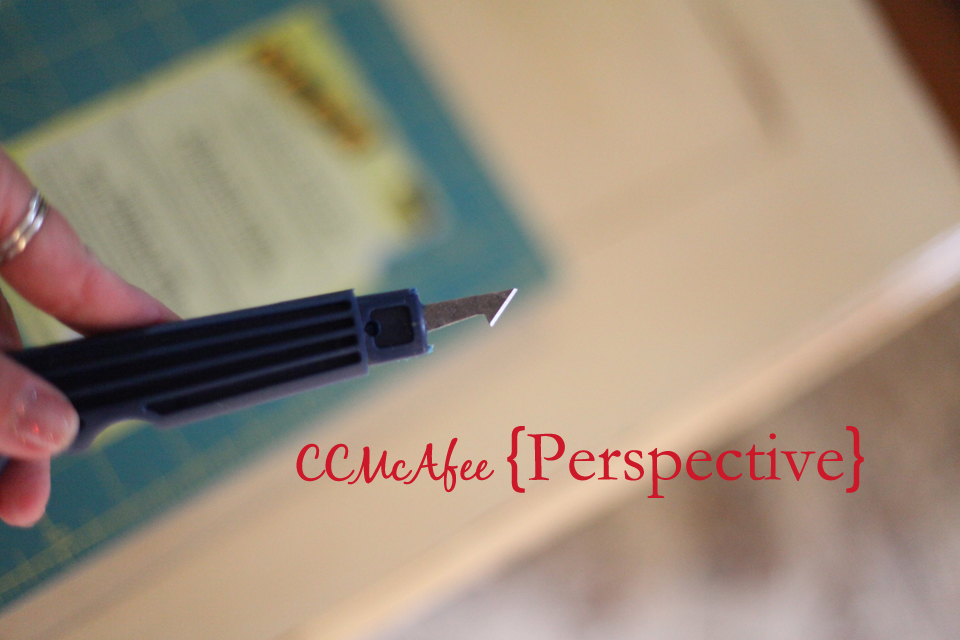
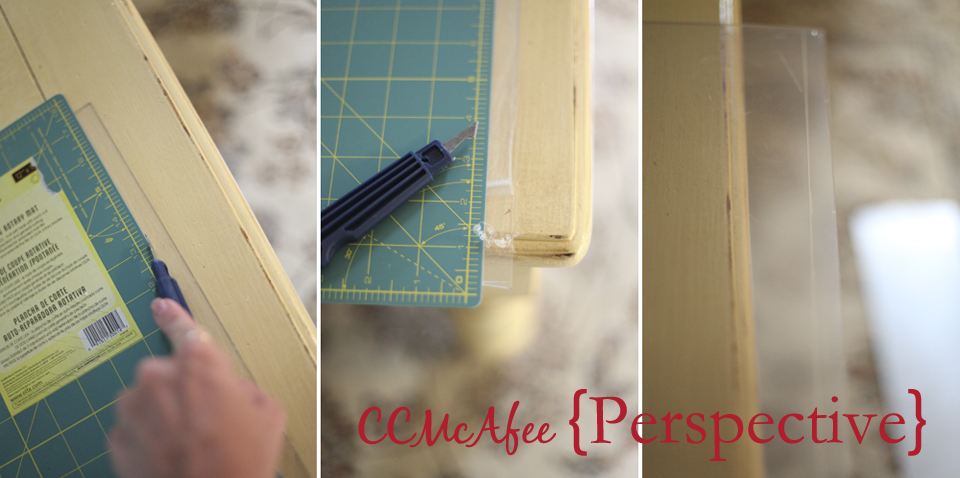
I measured how large I wanted my plex then used my board as a guide for cutting. You'll want to cut on a self healing matt. Usually I use my rotary matt and ruler, but I'd just lent that to a friend.
As you make your first cut make sure you are free from table, counter etc. on the finishing edge. I've cut into something unintentionally coming off the plex at the end... that little edge is sharp and will dig right into whatever it lands on!
The first time I bought plex, forever ago, I bought this blade and cut and cut and cut! I was like what the crap? This will take me a century to cut through. The thing is you aren't cutting, you are scoring, just like with glass. You make a few good cuts, the plastic curls up in little strands as you go... then you're good.
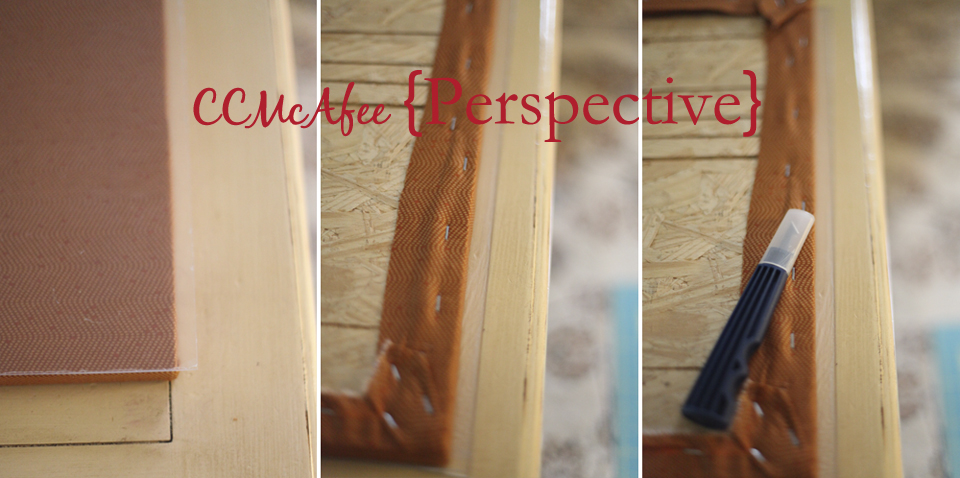
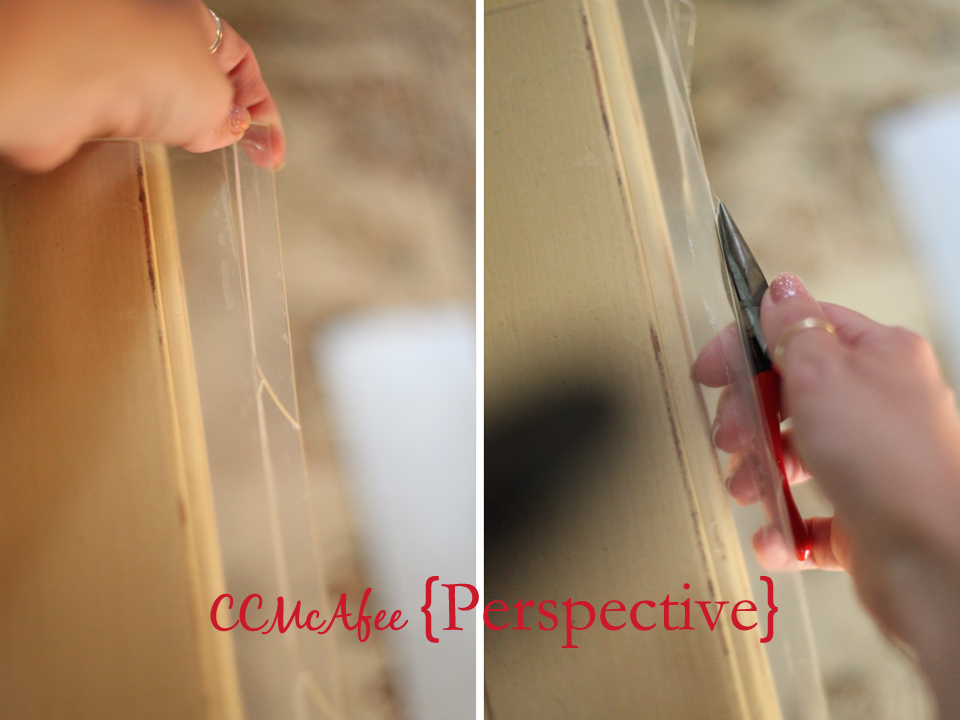
Your next step is to snap that right off. If you have enough of an edge you can snap the whole thing at once, for smaller edges it will probably come off in pieces. Just lay the scored piece on something with and edge and snap!
For pesky little left over pieces use your pliers to snap them.
Done!
Now onto the desk.
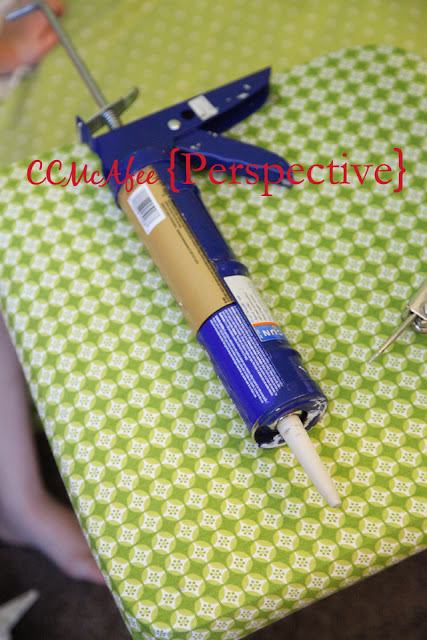
I started with some liquid nails just to hold the top in place.
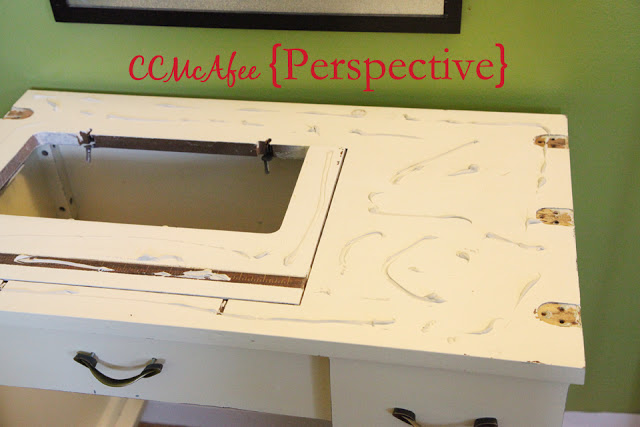
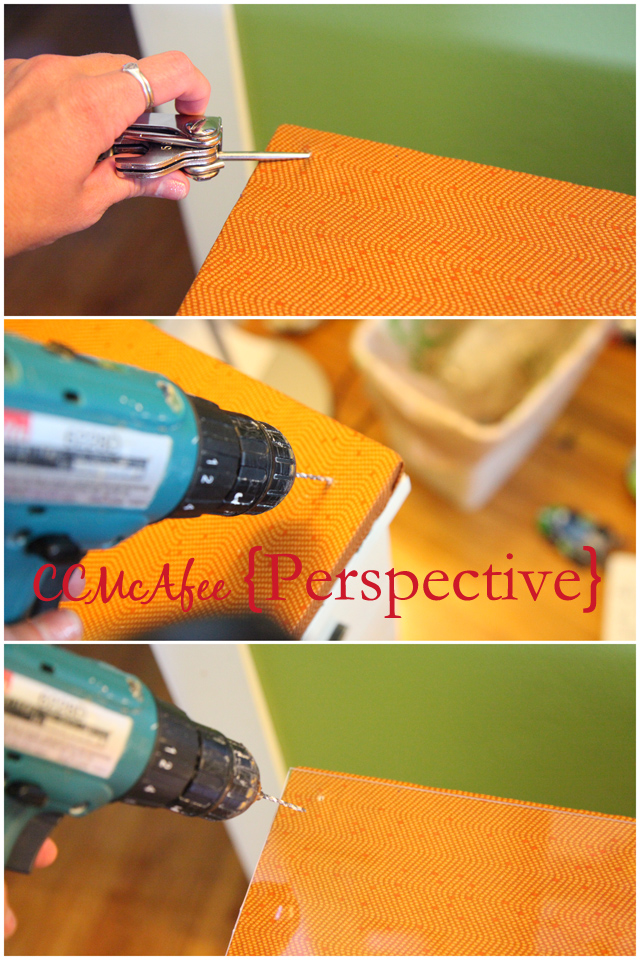
Next step was drilling some pilot holes in the wood, but before that I poked holes in my fabric, I could forsee it twisting in the screwdriver. It was a good call. Drilled four holes in the corners.
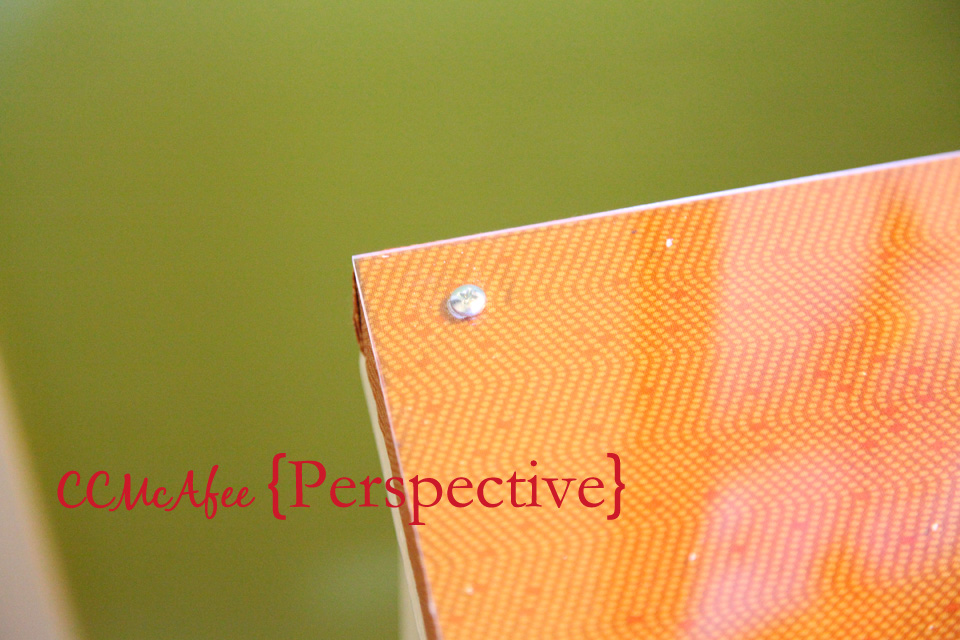
Then I placed the plex over the wood, lined it up and drilled.
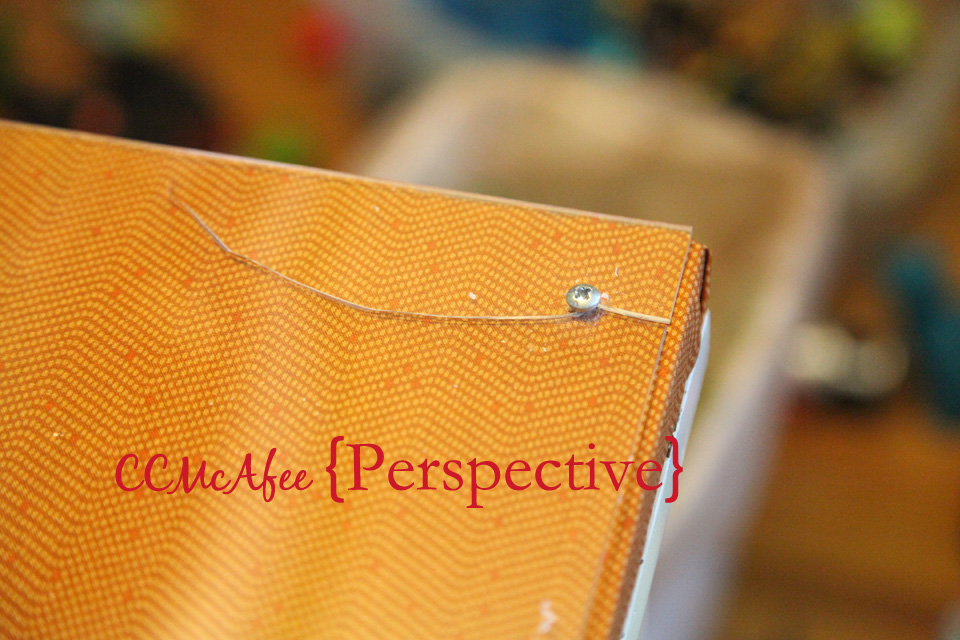
As I went forward, and tried to place my screws I discovered that you need to make the hole larger for the plexi, so the screw will pretty much clear it width wise. Otherwise your plexi will crack... like this... BLAST!
I went around and fixed the other three holes then finished it off. I'll go back and replace it later... much later! It's good for now!
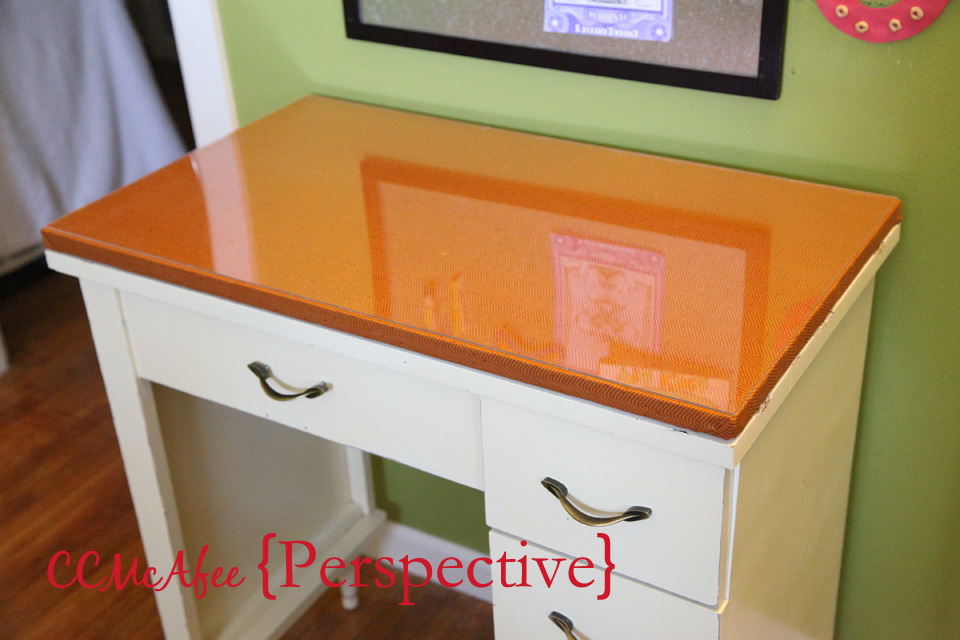
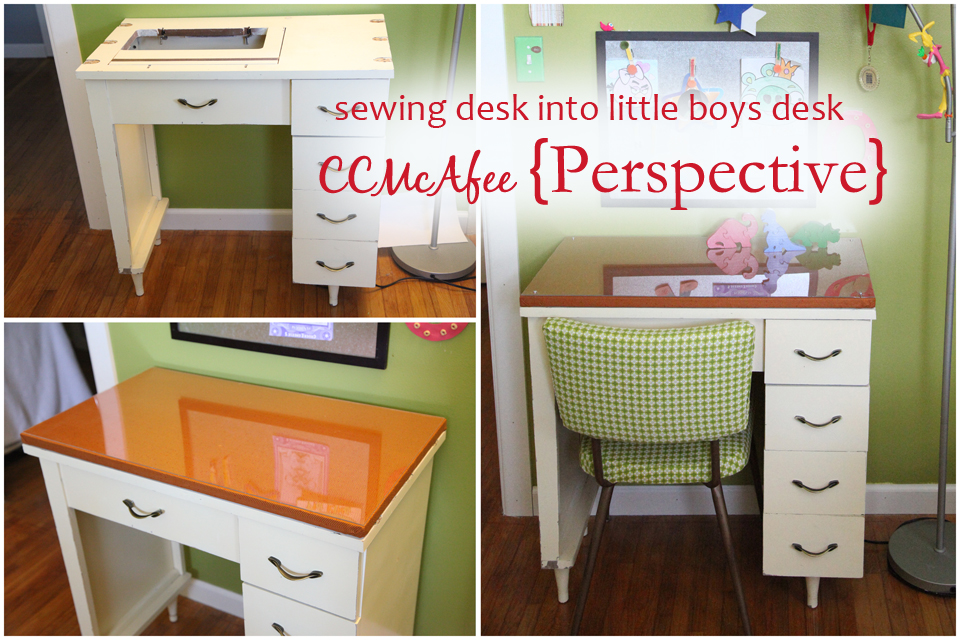
And it's finished! Our cute sewing desk turned little boy desk! With the chair too!
Love it! Sorry, I didn't make the wall cute at all, that will happen when I clean their room... not today!
Here is one more look at the before and after...